Intro
In this article, I want to share my experience to use PaperCSS framework. I also wanted to see how the new Library Manager works in VS 2017.
PaperCSS is a framework that presents pages like paper pieces. As said authors, the goal of PaperCSS is to be as minimal as possible when adding classes.
To learn more about PaperCSS, please follow the official site.
UPD: You can find the second part of this article here.
Prerequisites
You should have installed the Visual Studio 2017 v.15.8.7 and .NET Core 2.1 Framework. You also need a fake data generator like Faker.Net.
Steps for creating a Web Application with PaperCSS
Step 1: Creating the ASP.NET Core MVC Project
To start with you have to create a Core MVC project. Follow the below to create the project.
- Launch Visual Studio 2017;
- Go to File menu and select New->Project;
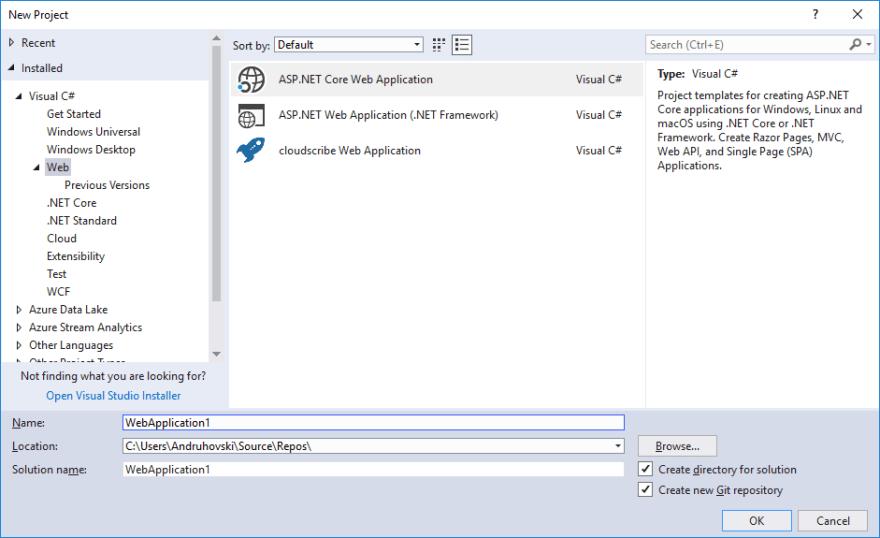
- In the left panel of the New Project, expand the Installed -> Templates -> Visual C# -> Web;
- Select ASP.NET Core Web Application from the center pane. Enter the name of the project (PaperCss) and select the location. Then press the "OK" button;
- In the New ASP.NET Core Web Application window, make sure ASP.NET Core 2.1 is selected at the top;
- For this demo, I choose Web Application (MVC) with No Authentication and Configure for HTTPS.
Step 2: Replacing CSS framework.
Since the current version of ASP.NET Core Web Application template was not updated to the new version, we need to remove the content of the lib folder and create a new one. We should do it for two reasons: old content was tuned with Bower and we need to replace Bootstrap to PaperCSS.
- Follow to the
libfolder and remove all content exceptfavicon.ico; - Right-click on the
liband select Add->Client-Side Library; - In
Librarytextbox enterjquery@3.3.1and clickInstall - Right-click on the
liband select Add->Client-Side Library again; - Choose provider
unpkgand fileLibrarytextbox withpapercss@1.5.4 - Because we need only
distfolder from PaperCSS, we selectChoose specific folderoption and check thendistfolder in the tree and clickInstall.
Step 3: Modifying _Layout.cs
Now we can apply PaperCSS to our application. In this step, we will change a navigation bar in Views/Shared/_Layout.cs.
-
Replace links in line 7 and 11 to PaperCSS:
-
Replace scripts block at the end of the file with new:
Update the navigation bar with a new design:
- For better appearance, you can also remove
<hr>tag before footer-element.
Step 4: Modifying _CookieConsentPartial.cshtml
- Replace the content of the file with a new one:
To learn more about the modal component, please follow to PaperCSS documentation
Step 5: Creating a new design for generated pages.
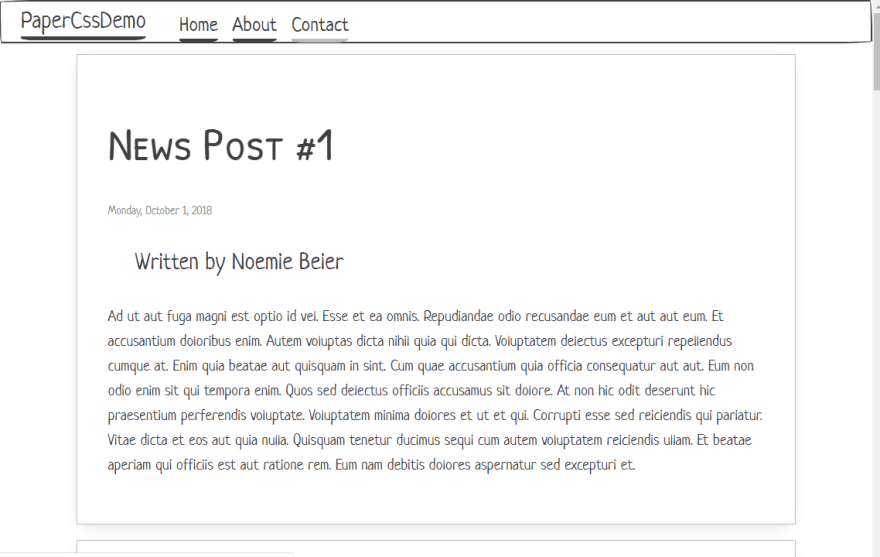
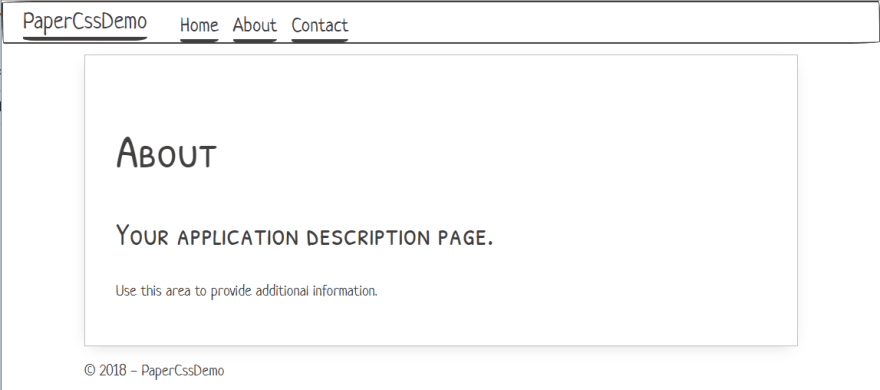
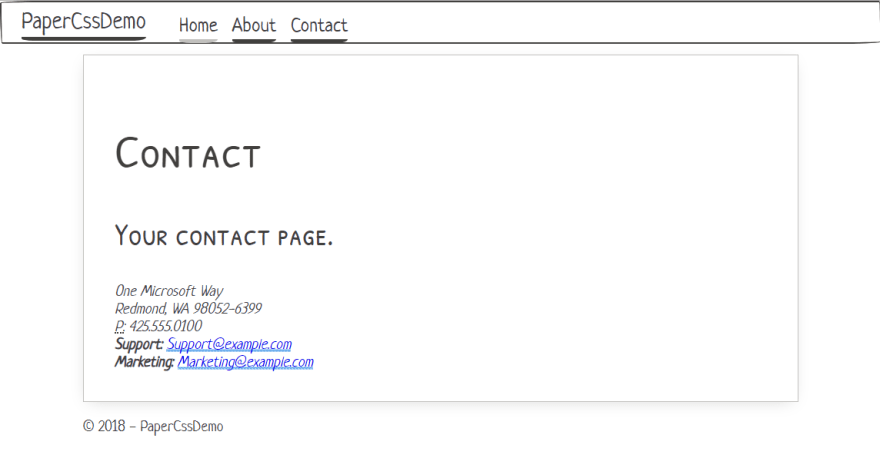
In this demo, the Index page will be used for news publishing, but About and Contact will be unchanged.
- Create an Article model:
- Change the
Indexaction inHomeController - Replace Index view layout:
- About and Contact views will have minimal changes. We just wrap content in view with
<section class="paper">...</section>element.
After running our application will look like following screenshots:
Conclusion
In this post, we met with basic steps to use PaperCSS.
In the next posts, we will consider how to use PaperCSS grid layout, tables, and other components.


Top comments (2)
Love your breakdown! I'm currently heavily using Bulma, but look forward to your venture into this framwork and other posts!
Thank you for your attention to this matter. I am interested in various frameworks, so I will try to explore Bulma in the nearest future.