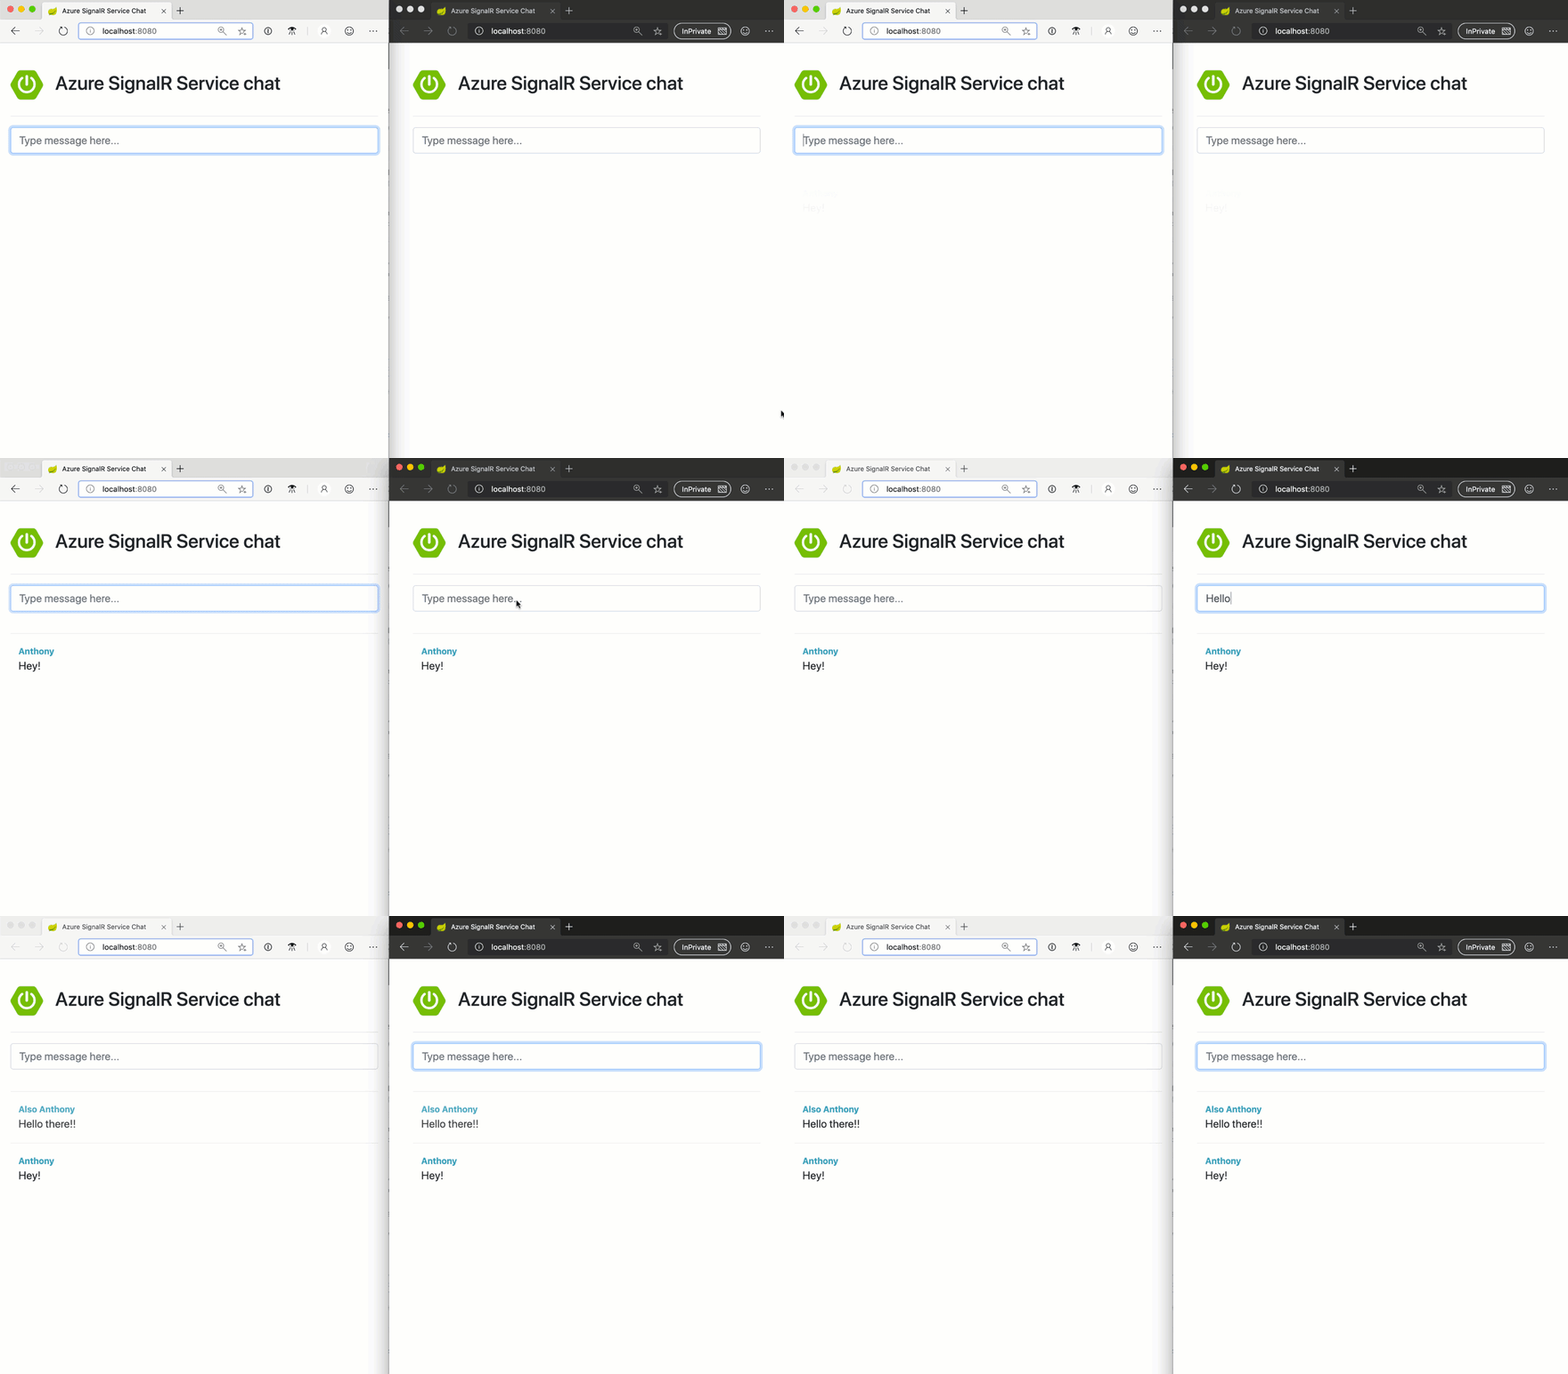
Azure SignalR is a fully managed service that makes it easy to add highly-scalable real-time messaging to any application using WebSockets and other protocols. SignalR Service has integrations for ASP.NET and Azure Functions. Other backend apps can use the service's RESTful HTTP API.
In this article, we'll look at the benefits of using Azure SignalR Service for real-time communication and how to integrate it with a Java Spring Boot chat application using the service's HTTP API.
Azure SignalR Service overview
While many libraries or frameworks support WebSockets, properly scaling out a real-time application is not a trivial task; it typically requires setting up Redis or other infrastructure to act as a backplane. Azure SignalR Service does all the work for managing client connections and scale-out. We can integrate with it using a simplified API.
SignalR Service uses the SignalR real-time protocol that was popularized by ASP.NET. It provides a programming model that abstracts away the underlying communication channels. Instead of managing individual WebSocket connections ourselves, we can send messages to everyone, a single user, or arbitrary groups of connections with a single API call.
SignalR also negotiates the best protocol for each connection. It prefers to use WebSockets, but if it is not available for a given connection, it will automatically fall back to server-sent events or long-polling.
There are many SignalR client SDKs for connecting to Azure SignalR Service. They're available in .NET, JavaScript/TypeScript, and Java. There are also third-party open source clients for languages like Swift and Python.
Azure SignalR Service RESTful HTTP API
Server applications, like a Java Spring app, can use an HTTP API to send messages from SignalR Service to its connected clients. There are also APIs for managing group membership; we can place users into arbitrary groups and send messages to a group of connections.
The API documentation can be found on GitHub. We'll be using these APIs in the rest of this article.
Integrating SignalR Service with Java
There are four main steps to integrating SignalR Service with an application.
- Create an Azure SignalR Service instance
- Add an API endpoint (
/negotiate) in our Java app for SignalR clients to retrieve a token for connecting to SignalR Service - Create a connection with a SignalR client SDK (we'll be using a JavaScript app in a browser)
- Send messages from our Java app
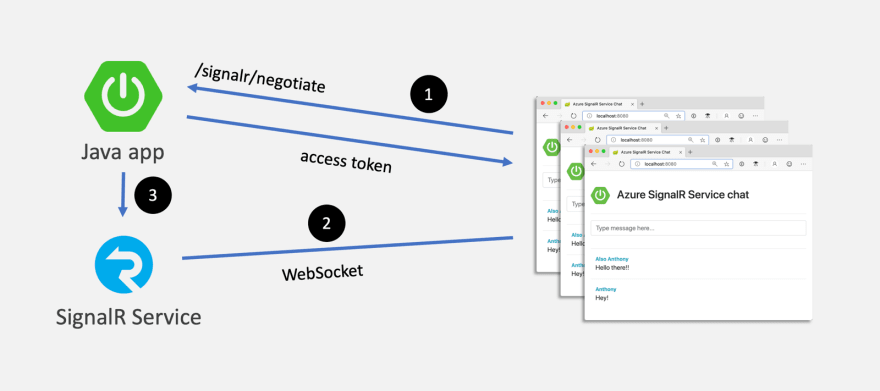
How it works
- The SignalR client SDK requests a SignalR Service URL and access token using the
/negotiateendpoint - The client SDK automatically uses that information establish a connection to SignalR Service
- The Java app uses SignalR Service's RESTful APIs to send messages to connected clients
Create a SignalR Service instance
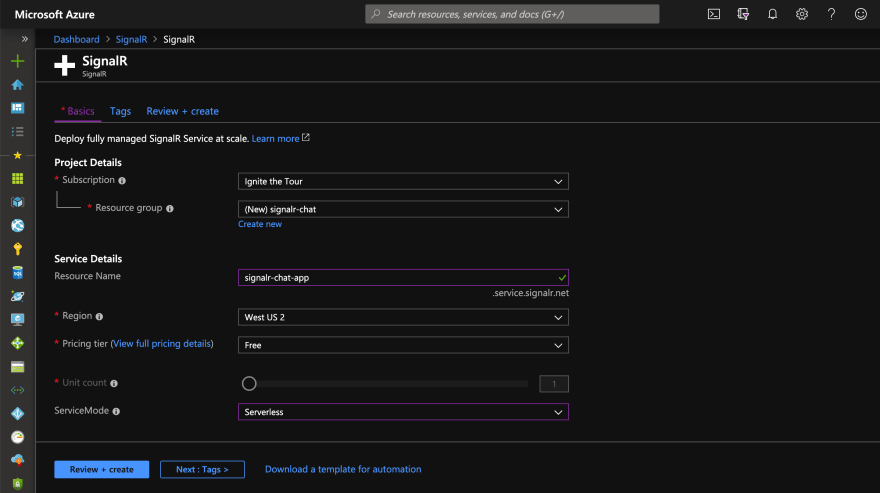
We can create a free instance of SignalR Service using the Azure CLI or the Azure portal. To work with the REST API, configure it to use the Serverless mode.
For more information on how to create an SignalR Service instance, check out the docs.
Add a "negotiate" endpoint
SignalR Service is secured with a key. We never want to expose this key to our clients. Instead, in our backend application, we generate a JSON web token (JWT) that is signed with this key for each client that wants to connect. A SignalR client sends a request to an HTTP endpoint we define in our application to retrieve this JWT.
This is the negotiate endpoint in our Spring Boot app. It generates a token and returns it to the caller. We can (optionally) embed a user ID into the token so we can send messages targetted to that user.
@PostMapping("/signalr/negotiate")
public SignalRConnectionInfo negotiate() {
    String hubUrl = signalRServiceBaseEndpoint + "/client/?hub=" + hubName;
    String userId = "12345"; // optional
    String accessKey = generateJwt(hubUrl, userId);
    return new SignalRConnectionInfo(hubUrl, accessKey);
}
Notice that the route ends in /negotiate. This is a requirement as it is a convention used by the SignalR clients.
The method for generating a JWT uses the Java JWT (jjwt) library and signs it with the SignalR Service key. Notice we set the audience to the hub URL.
A hub is a virtual namespace for our messages. We can have more than one hub in a single SignalR Service. For instance, we can use a hub for chat messages and another for notifications.
private String generateJwt(String audience, String userId) {
    long nowMillis = System.currentTimeMillis();
    Date now = new Date(nowMillis);

    long expMillis = nowMillis + (30 * 60 * 1000);
    Date exp = new Date(expMillis);

    byte[] apiKeySecretBytes = signalRServiceKey.getBytes(StandardCharsets.UTF_8);
    SignatureAlgorithm signatureAlgorithm = SignatureAlgorithm.HS256;
    Key signingKey = new SecretKeySpec(apiKeySecretBytes, signatureAlgorithm.getJcaName());

    JwtBuilder builder = Jwts.builder()
        .setAudience(audience)
        .setIssuedAt(now)
        .setExpiration(exp)
        .signWith(signingKey);

    if (userId != null) {
        builder.claim("nameid", userId);
    }

    return builder.compact();
}
Create a client connection
On our web page, we bring in the SignalR JavaScript SDK and create a connection. We add one or more event listeners that will be invoked when a message is received from the server. Lastly, we start the connection.
<script src="https://cdn.jsdelivr.net/npm/@microsoft/signalr@3.0.0/dist/browser/signalr.min.js"></script>
const connection = new signalR.HubConnectionBuilder()
  .withUrl(`/signalr`)
  .withAutomaticReconnect()
  .build()

connection.on('newMessage', function(message) {
  // do something with the message
})

connection.start()
  .then(() => data.ready = true)
  .catch(console.error)
Notice that we used the negotiate URL without the /negotiate segment. The SignalR client SDK automatically attempts the negotiation be appending /negotiate to the URL.
When we start the application and open our web page, we should see a successful connection in the browser console.
Send messages from the Java app
Now that our clients are connected to SignalR Service, we can send them messages.
Our sample is a chat app, so we have an endpoint that our frontend app will call to send messages. We use a similar method as the /negotiate endpoint to generate a JWT. This time, the JWT is used as a bearer token in our HTTP request to the service to send a message.
@PostMapping("/api/messages")
public void sendMessage(@RequestBody ChatMessage message) {
    String hubUrl = signalRServiceBaseEndpoint + "/api/v1/hubs/" + hubName;
    String accessKey = generateJwt(hubUrl, null);

    Unirest.post(hubUrl)
        .header("Content-Type", "application/json")
        .header("Authorization", "Bearer " + accessKey)
        .body(new SignalRMessage("newMessage", new Object[] { message }))
        .asEmpty();
}
And now our app should be working! To support hundreds of thousands of connections, we simply have to go into the Azure portal and increase the number of connection units with a slider.


Top comments (2)
If I'm currently communicating with service workers using a push notification, at what point/scale etc should I consider switching to signalR?
Push notifications are great for infrequent messages. WebSocket based solutions like SignalR and socket.io can be used for high throughput scenarios when the client (e.g., browser) is open.
An example is a rideshare app. When you see your driver’s location in real-time on a map on their way to pick you up, that’s a good use of WebSockets. When the driver arrives and your phone gets a notification (even when the app is closed), push notifications is great for that.