This article will combine the state to manipulate formularies.
Intended result
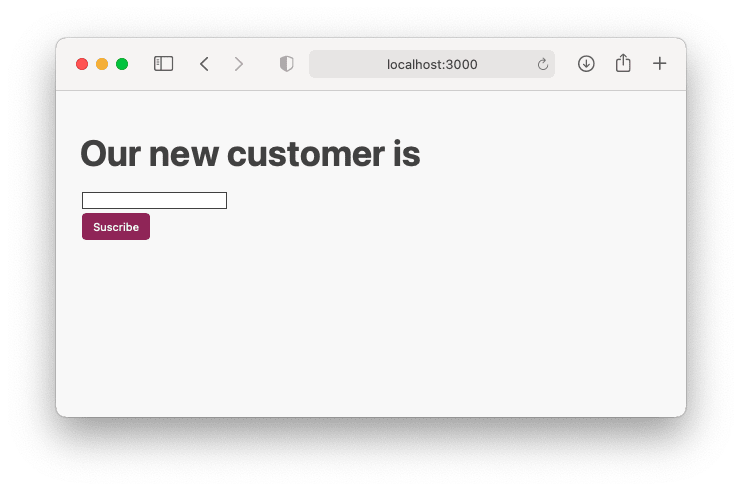
This is what we will have by the end of the article.
 Figure 1: A quick and simple form made in React.
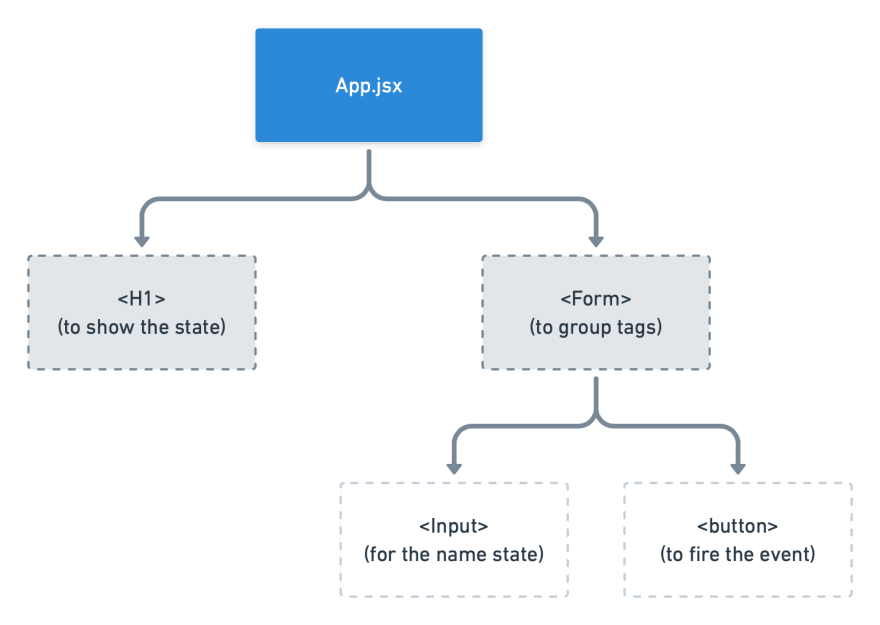
 Figure 2: Hierarchy chart of the app. Note the boxes with dotted lines aren't components but tags inside the App.jsx
Getting started
Our code examples are getting more complex, but we can still break this down by focusing only on new things:
import { useState } from "react";

export default function App() {
  const [name, setName] = useState("");

  function onSuscribe(event) {
    event.preventDefault();
    alert(`Welcome on board ${name}`);
  }

  function onName(event) {
    setName(event.target.value);
  }

  return (
    <div className="App">
      <h1>Our new customer is {name}</h1>

      <form onSubmit={onSuscribe}>
        <input value={name} onChange={(event) => onName(event)} />
        <br />
        <button>Suscribe</button>
      </form>
    </div>
  );
}
Form tag:
Note that the code to trigger the submission is attached to the form instead of the button.
-
onSubmitproperty in the form tag to run a function when the user press the form button. -
event.preventDefault()on theonSuscribefunction. This line is necessary to avoid the webpage to reload automatically after sending the form.
Reloading the page was the normal behavior when you needed server-sided languages to do basic form manipulation before JavaScript became a powerful language.
Because the form is not directly connected to a state that changes the event, you can omit the arrow function to pass the event like in the input field.
Input tag:
- The input has a property
valuethat receives the state. - The input also has a property
onChangethat runs an arrow function each time the user types inside the field. - The arrow function has 2
events:- The input event fired each time the user types.
- The same event passed as an argument to be used in a function.
Conclusion
Now we are halfway done in React. The next day, we will start building large-scale applications by fetching data from a server and handling multiple pages inside our React project.
You can take a break before moving to the articles intended for the next day, or click here to continue your studies.
If you want to see the finished code, open this link and open the branch forms.
Credits:
Cover: Photo by Kelly Sikkema on Unsplash


Top comments (0)