
I know, I know… for a beginner, setting up the environment in ASP.NET can be a tedious task, especially when it comes to configuring the connection string to communicate with the database.
When I first started learning, this was the toughest part for me, so I decided to write this simple blog post to help make the process easier for you. Let's dive in!

What is a Connection String?
A connection string is a string that specifies information about a data source and how to connect to it. In simpler terms, the connection string tells your code which database to connect to and provides the necessary information to perform CRUD operations.
There are two types of projects in which connection strings are configured differently:
- Console App
- Web App
Console App
A Console App is an application that doesn’t have a frontend like web apps do. It's mainly used for testing or background processes.
How to Create a Console App?
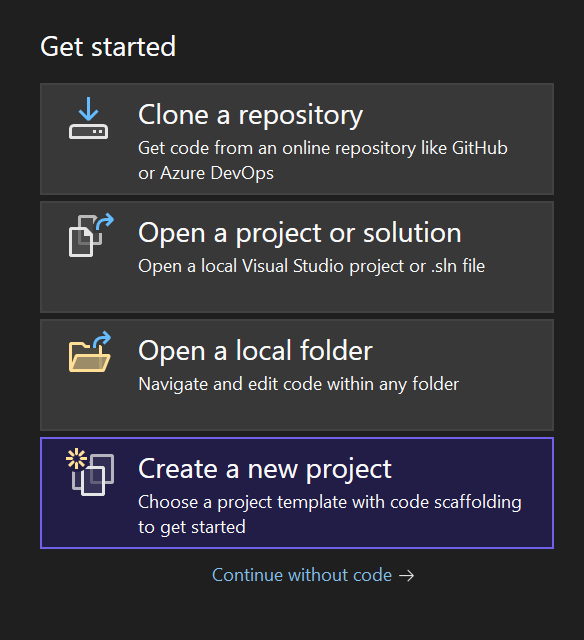
- Open Visual Studio.
- Select Create a new Project or open an existing project.
- Select
Console App.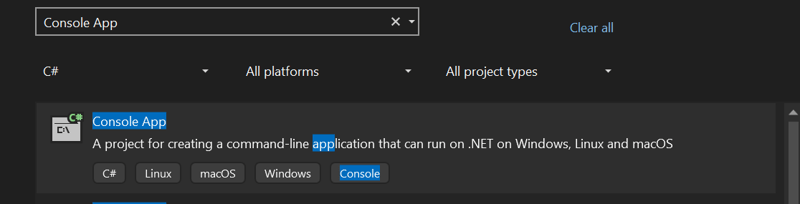
- Name the project and, with the default specifications, click
Create.
Connection String Setup for Console App
1) Install the Required NuGet Package:
- Right-click on your project name inside
Solution Explorerand selectManage NuGet Packages.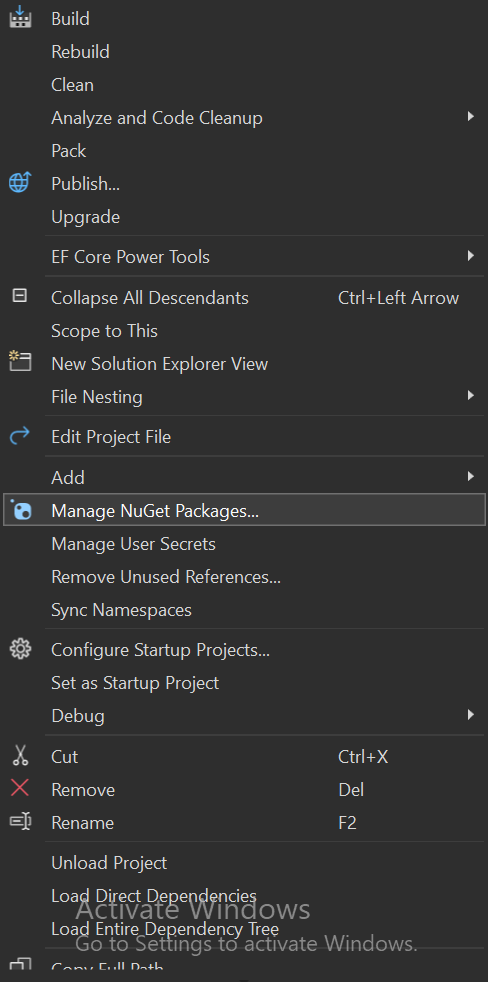
- Install the necessary package based on the database provider you're using. Ensure that the package is
EntityFrameworkCorefrom Microsoft. If you're using SQL Server, install:Microsoft.EntityFrameworkCore.SqlServer.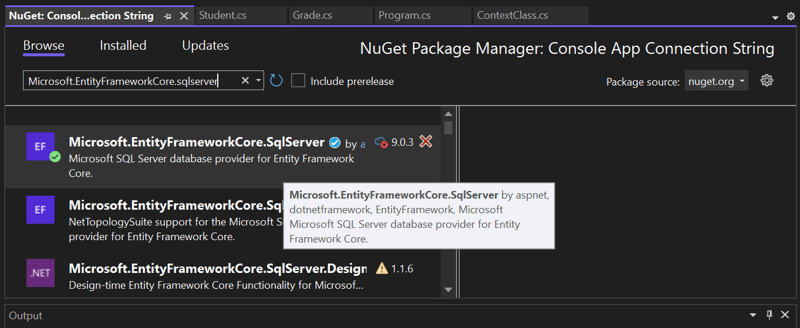
2) Create Your Database Domain Classes:
These are the class files that represent individual tables in your database. In my case, I have two tables:
StudentsandGradesin a database namedEF.

Below are the classes I've created in the Console App:
A) Student Class
using System;
using System.Collections.Generic;
using System.Linq;
using System.Text;
using System.Threading.Tasks;

namespace Testing_Connection_string
{
    public class Student
    {
        public int StudentId { get; set; }
        public string FirstName { get; set; }
        public string LastName { get; set; }

        public int GradeId { get; set; }
        public Grade Grade { get; set; }
    }
}
B) Grade Class
using System;
using System.Collections.Generic;
using System.Linq;
using System.Text;
using System.Threading.Tasks;

namespace Testing_Connection_string
{
    public class Grade
    {
        public Grade()
        {
            Students = new List<Student>();
        }

        public int GradeId { get; set; }
        public string GradeName { get; set; }

        public IList<Student> Students { get; set; }
    }
}
3) Create Database Context Class
- This is the class that defines the schema used by the rest of the code to communicate with the database.
a) Import the Database Provider at the top
using Microsoft.EntityFrameworkCore;
b) Inherit the DbContext class
class ContextClass : DbContext
c) Define the database tables that you want to use in the code
public DbSet<Student> Students { get; set; }

public DbSet<Grade> Grades { get; set; }
d) Override the OnConfiguring function to define the connection string
protected override void OnConfiguring(DbContextOptionsBuilder optionsBuilder)
{
    optionsBuilder.UseSqlServer("<YOUR_CONNECTION_STRING>");
}
Final code:
using Microsoft.EntityFrameworkCore;

namespace Testing_Connection_string
{
    internal class ContextClass : DbContext
    {
        public ContextClass() { }

        public DbSet<Student> Students { get; set; }

        public DbSet<Grade> Grades { get; set; }

        protected override void OnConfiguring(DbContextOptionsBuilder optionsBuilder)
        {
            optionsBuilder.UseSqlServer("<YOUR_CONNECTION_STRING>");
        }
    }
}
4) Connection string value
- Ideally, the connection string format should be:
"Data Source=<DATA_SOURCE>;Initial Catalog=<DATABASE_NAME>;Integrated Security=True;Trust Server Certificate=True;"
- Data source :- Specifies the server name or network address of the SQL Server instance to connect to.
- Initial Catalog :- Defines the name of the database to connect to on the SQL Server instance.
-
Integrated Security :- Indicates whether Windows Authentication is used for the connection (e.g.,
TrueorFalse). -
Trust Server Certificate :- Specifies whether the server certificate should be trusted without validation (
TrueorFalse).
As I am using the local database and database name is EF my connection string is:
Data Source=.;database=EF;Trusted_Connection=True;Encrypt=False;
5) Communicate with Database
- Inside the
Program.csfile, write code to access the database.
using (var context = new ContextClass())
{
var students = context.Students.ToList();
var grades = context.Grades.ToList();
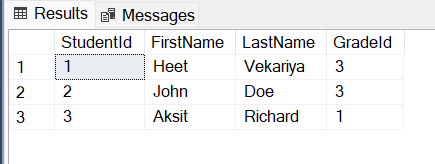
Console.WriteLine("The Results are :- \n");
foreach (var student in students)
{
var studentFullName = student.FirstName + " " + student.LastName;
Console.WriteLine(studentFullName + " has " + grades.Find(g => g.GradeId == student.GradeId)?.GradeName + " Rank.");
}
}
Output:

Web App
Building web APIs for data-driven applications, developing web applications with server-side data interactions (user management, dashboards, inventory systems, etc.), and handling business logic and database operations in the backend with a structured MVC or Razor Pages approach.
How to Create Web App ?
- Open Visual Studio
- Select Create a new Project or open the existing project
- Select any web application depending upon your requirement, I am using
ASP.NET Core Web API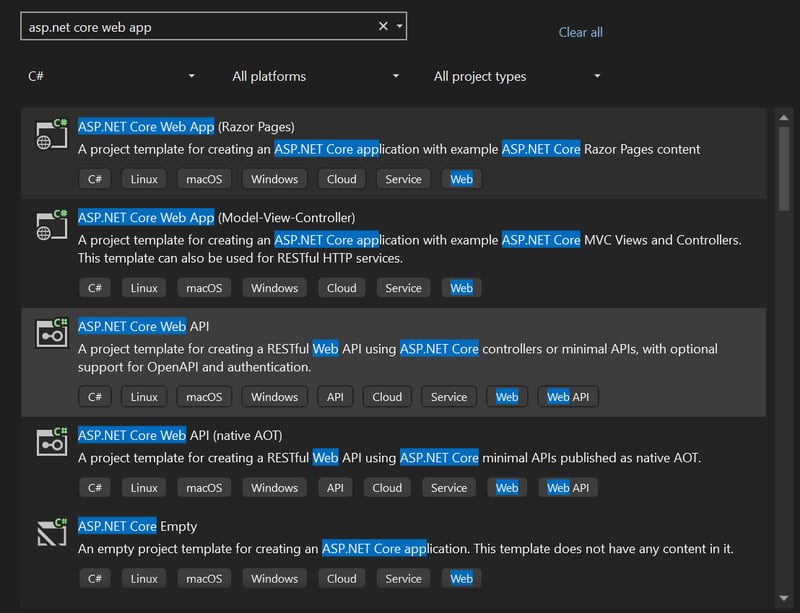
- Give name to project and, with the default specifications, click
Create.
Connection String Set up for Web App:
1) Similar to Console App, first install the NuGet package
2) Add connection string inside appsettings.json
{
    "Logging": {
        "LogLevel": {
            "Default": "Information",
            "Microsoft.AspNetCore": "Warning"
        }
    },
    "AllowedHosts": "*",
    "ConnectionStrings": {
        "<CONNECTION_STRING_NAME>": "<YOUR_CONNECTION_STRING>"
    }
}
3) Create your database domain classes
- Similar to the console app, I have created the context class, but the difference is, this time I am dynamically inserting the connection string whenever required through the constructor, which searches for the connection string in the
baseclass.
using Microsoft.EntityFrameworkCore;

namespace Connection_String_Web_App
{
    public class ContextClass : DbContext
    {
        public ContextClass(DbContextOptions<ContextClass> options)
            : base(options)
        {

        }
        public DbSet<Student> Students { get; set; }

        public DbSet<Grade> Grades { get; set; }
    }
}
4) Configure builder inside the Program.cs file to use the connection string from appsettings.json.
builder.Services.AddDbContext<ContextClass>(opt =>
{
    opt
    .UseSqlServer(builder.Configuration.GetConnectionString("RepositoryConnection"));
});
- Replace the connection string name with your connection string name defined in the
appsettings.json. - Here we use the concept Dependency Injection to access connection string.

With this setup, you’re now ready to explore advanced topics like CRUD operations, migrations, and performance optimization. The connection string is just the start, and there’s much more to learn as you continue building your applications.
Keep experimenting, learning, and happy coding!


Top comments (0)