The steps above can be used to create our Linux Virtual Machine but with slightly different variation. We can proceed to creating our machines using SSH or Password. In this guide I will show creating your VM using only Password. To start follow the steps below.
1 Select 'create a resource' as shown in the example above.

2 From the Create a resource window, select virtual machine.

3 Follow the steps stated while creating a windows machine as above for subscription, availability options, resource group and Image. Provide a name for your machine. Here we are using 'azurelinux01' as virtual machine name.

4 Just as we did in creating our Windows VM earlier, our Linux VM would be given a Username and password. these details will be required when login into the created machine. The port selected is SSH 22.

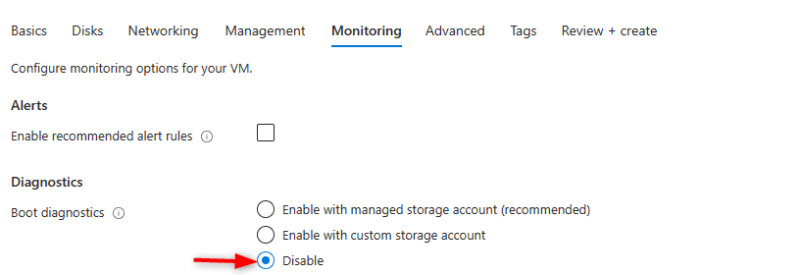
5 We leave others menu items as default, now we move to the Monitoring menu, under diagnostics and disable it. We are doing it just for this practical only.
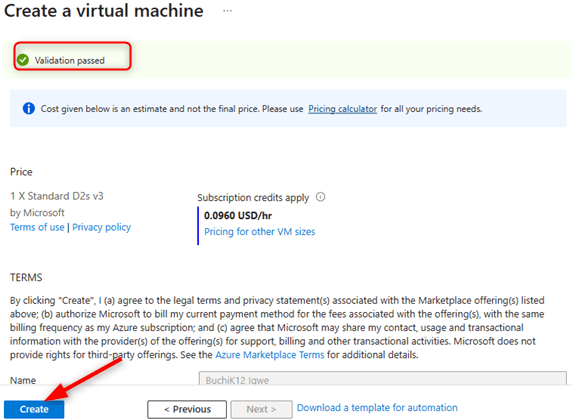
6 In this step we select the 'Review create button'. We wait until we get validation passed. Once validation passed, click on create button.

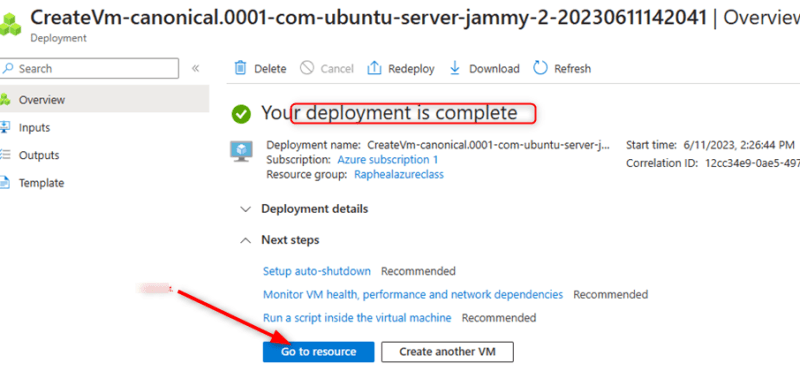
7 In this step, we are done creating our VM, what is seen is Deployment complete. Next, select the 'go to resources' button.
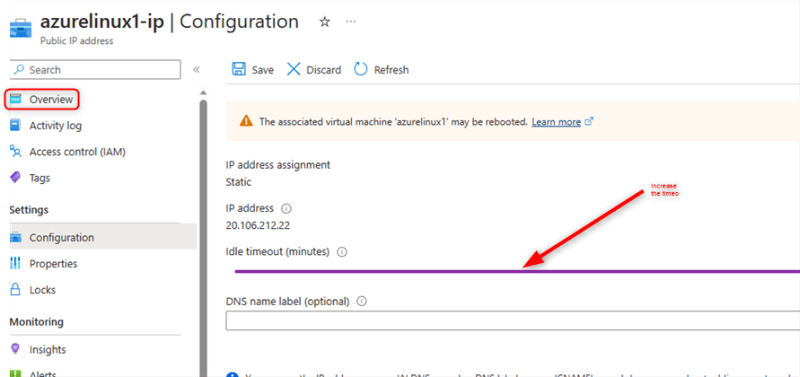
8 in this step we proceed to increase our public ip timeout to prevent the VM from timing out, here we select it to be 30 minutes. Then save changes.
9 After we proceed by selecting our Linux VM machine created.

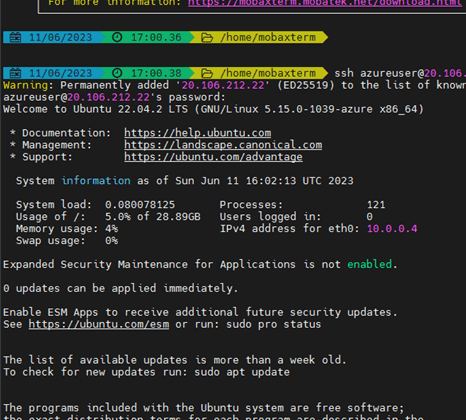
10 select connect, take note of the connection instructions, open windows power shell or any terminal of your choice.

11 Here we are using MobaXterm as our terminal. use ssh Azureuser@20.106.237.88 to connect.

12 provide your password, don't worry if you cant see it as you type, proceed.
13 your Linux VM is now ready.
it is recommended as a rule of thumb to always delete resources not in use. The cloud is expensive, and you cannot leave resources running unused. To delete this VM proceed as follow.
Steps to Delete Linux VM
1 On the Linux vM home page ,select delete among the menu listed

2 then proceed to selects the different resources created and ticks all boxes, finally select delete.

We have covered a lot of important things you need to know in this practical, if you find it interesting, please share your comments below.


Top comments (0)