Since 2008, developers have learned about websockets from websocket.org. A site created by Kaazing who rode the HTML5 wave with an enterprise gateway and client libraries to enable web sockets and server sent events (SSE). Sadly, the site was shuttered sometime in 2021. We can assume along with Kaazing changing their name to Tenefit a new strategy was formed that did not include websocket.org.
Shutting down websocket.org also discontinued their echo server used by many developers to explore websocket tools and client libraries. By establishing a connection to echo.websocket.org developers could send a message and have it echoed back. Similar to httpbin.org used when testing REST API calls.
As my hacktoberfest project, I thought it would be fun to recreate echo.websocket.org. In this post I’ll share how you can stand up your own echo server locally or deploy it to Heroku. You’re also welcome to use ours at echo.websocket.events.
Huge thank you James Harris for open sourcing his echo-server project.
Run echo-server locally with Docker
You have a few options for running it locally, I’ve found using Docker to be straightforward. First, if you don’t have Docker installed, then download it now. If Docker is installed check that it is running.
Use this command to run the latest available container
docker run --detach -p 10000:8080 jmalloc/echo-server
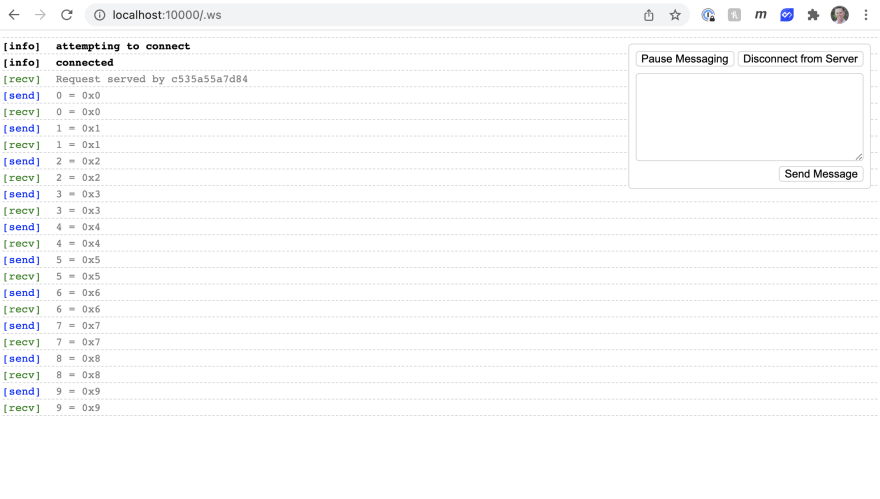
Confirm echo-server is running by pointing your browser to.
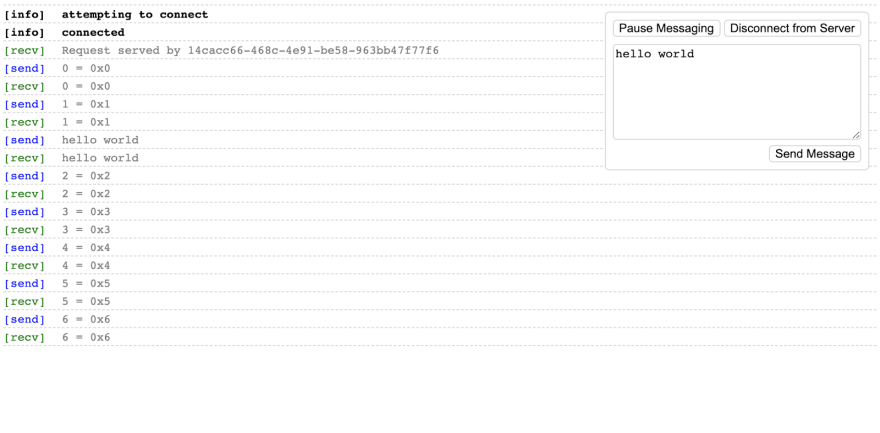
You’ll see an interface where you can send a message and have it echoed.
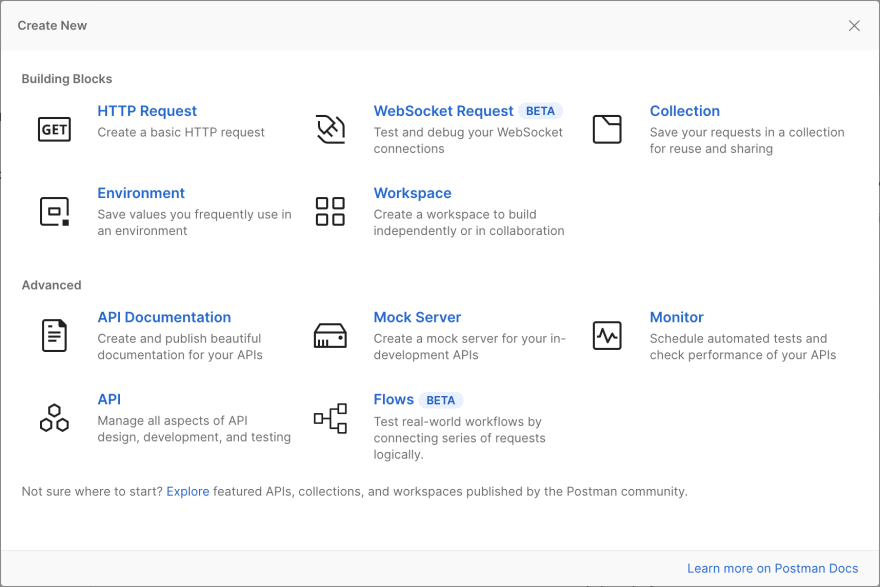
In Postman, you can create a new websocket request
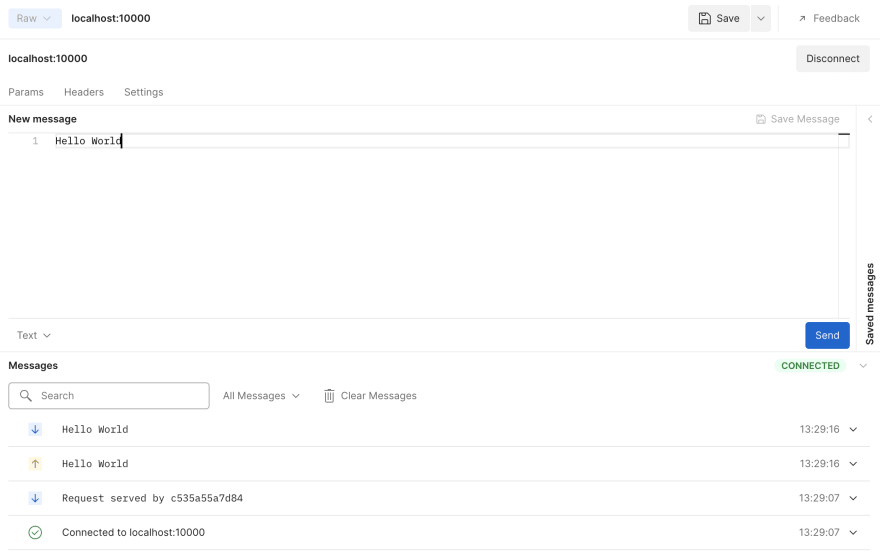
Enter the server url localhost:10000 (without the “http://”). Click connect and enter a New message and click send to see it echoed.
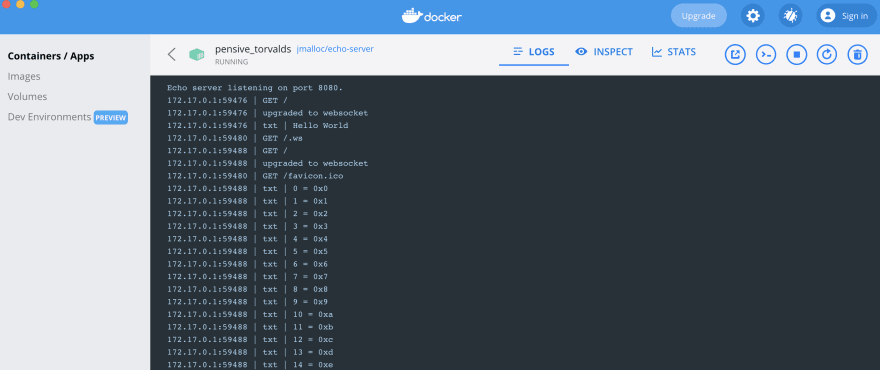
Curious what this looks like in Docker? Click on your running container to see the logs.
Deploy echo-server on Heroku
You may want to deploy the echo-server project to Heroku but find that it requires go version 1.17. We’ve forked the echo-server project and updated it to version 1.17 and included metadata for Heroku deployment.
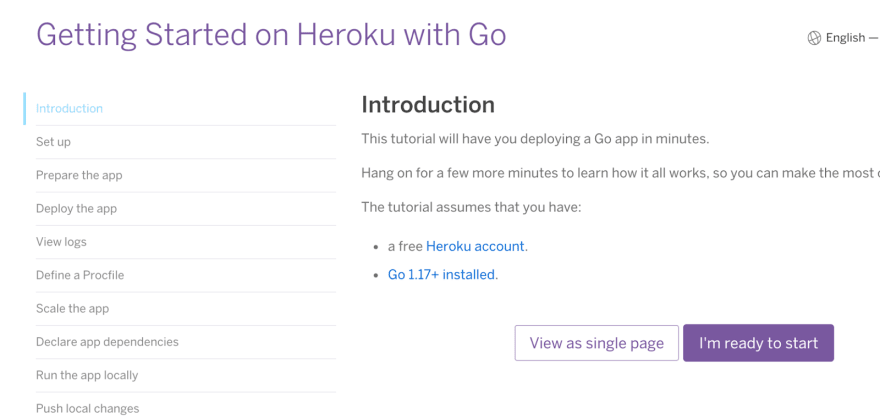
Start here and click “I’m ready to start” and install Heroku’s CLI for your OS.
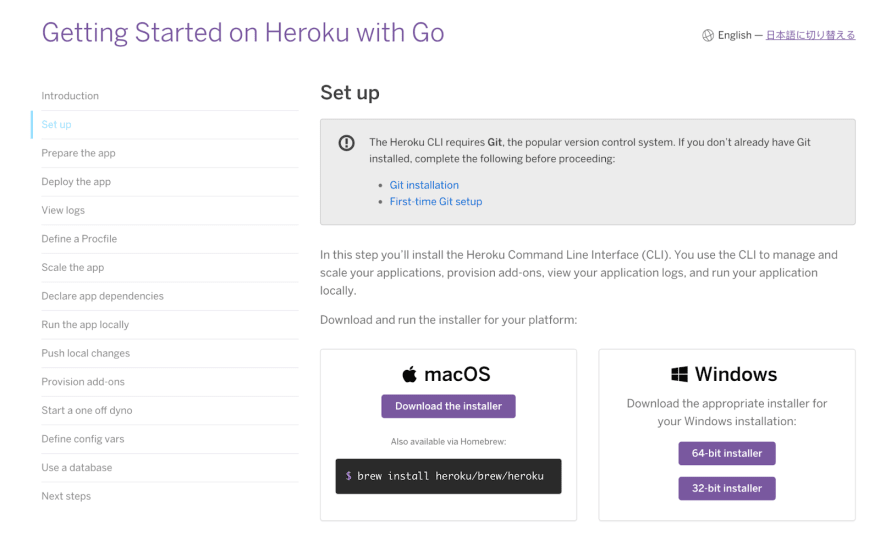
Once installed, open your Terminal app, Clone our fork of the echo-server repository.
git clone https://github.com/lob/echo-server.git
Change into the repository directory
cd echo-server
Login to Heroku
heroku login
You’ll be prompted to hit any key and a browser will open so you can login to Heroku.
Create a Heroku app with the command
heroku create
Now deploy the echo-server
git push heroku main
Once the deployment is done - open the app with
heroku open
Modify the URL in the address bar of your browser by adding /.ws at the end of your URL.You’ll see the same interface displayed when we ran echo-server locally with docker. Post a message and it will be echoed back to you.
Conclusion
Even though echo.websocket.org is no longer available, you have options when testing and building apps using websockets.
- Use echo.websocket.events
- Run echo-sever locally with Docker
- Deploy echo-server on Heroku or other cloud infrastructure


Top comments (0)