HeroDevs team recently released a static site generator for Angular projects - Scully.
Aside from rendering regular apps, they announced that it can be used to build a static blog with markdown. This is what got me curious, so I decided to dive in and explore how this works.
So, If you're an Angular developer who wants to make the most secure and fastest possible version of their markdown blog, hop on the ride and enjoy this quick tour.
What is Scully?
Scully is a JAM stack solution for Angular developers. It's a static site generator that takes your new or existing Angular app and pre-renders it to HTML and CSS.
If you take for example the smallest possible Angular website, it'll be around 300K. Now, if you take this app and pre-render it with Scully, you'll be able to cut the size down to 2.5K.
This is a huge deal for someone using a low-end device on a flaky mobile connection.
Why should I use it?
There are a number of benefits when using Scully, especially for Angular devs. Here are some of them:
- It works with the Angular ecosystem.
- You don't have to write your app in any specific way, it doesn't require any structural changes.
- Much faster load times, hence increased conversions for your app.
- Your app can work on a much larger number of devices where JavaScript is disabled or not supported.
- Faster TTI (Time to interactive). Due to the lack of a large number of scripts your app can respond to user interactions much quicker.
How does it work?
It takes your Angular app and renders it in a series of HTML pages. Then, once the user downloads the initial page it'll then download the rest of the Angular app and bootstrap it on top, so you still get all the benefits of a Single Page App.
The cool thing about it that with the machine learning algorithm it can find all the routes in your app and render the entire app to a series of static HTML files, which then can be simply uploaded to the CDN of your choice.
What should I have installed to follow along?
First, if you haven't already done this, you need to install Angular CLI 9.x.x.
npm install -g @angular/cli@next
Scaffolding an Angular app
For starters, Scully requires a working Angular app using Angular 9.x.x. Great, let's generate one!
ng new awesome-angular-blog
Next, select Yes for Angular routing and pick SCSS from the list of available styling options.
After it's finished generating a new project we can cd into it.
cd awesome-angular-blog
Ok, let's try running the app to make sure that it works.
ng serve --open
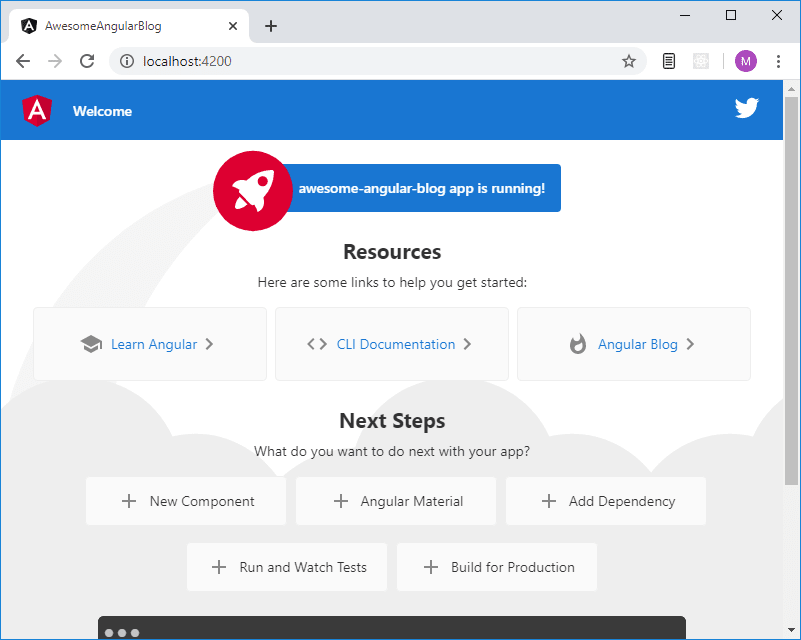
You'll see a default Angular app opened in the browser on http://localhost:4200/.
So far so good, now let's get rid of the boilerplate and add something very simple for starters.
Open src\app\app.component.html file and replace its contents with the following:
<h1>The Blog Header</h1>

<router-outlet></router-outlet>

<footer>Awesome Scully Blog</footer>
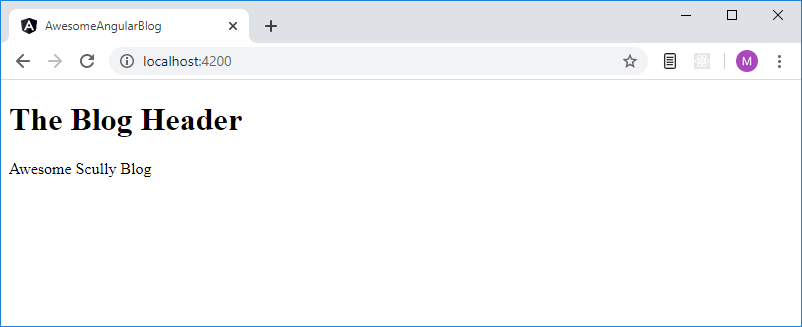
The development server is watching our files, so now our page should look like this.
Stop the development server by pressing Ctrl+C.
Installing Scully
A Quick Note: Keep in mind that this is an early alpha release, so there may be some 🐛. At the moment it only supports v9 of Angular (v8 support will be added later).
Here comes the interesting part. Now we're ready to install Scully. The first thing that we need to do is to run this command:
ng add @scullyio/init
This will install all necessary dependencies, import HttpClientModule, add scully.config.js file which will be used for plugins management and add some code to existing files.
Generating the blog
Scully allows us to generate a blog using Angular generate schematic. But we have to keep in mind that we need to build a project before running Scully because it uses the results of our build - dist folder to see what routes we have. So, let's build it now.
ng build
After that, you should see a dist folder created. Now let's generate the blog:
ng g @scullyio/init:blog
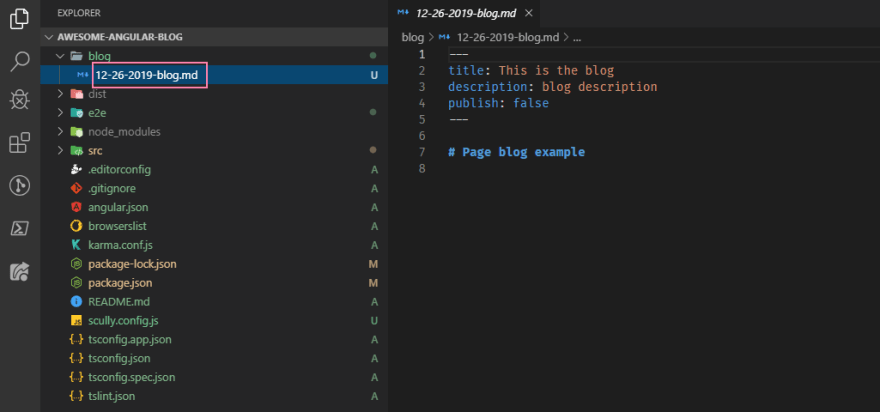
After you ran that command, Scully created a blog module with routes for us so we don't have to configure that manually. Also, to get you started it created a blog folder with the default markdown file. Every time Scully builds, it'll render this markdown file to HTML.
We can now add new blog posts with the following command:
ng g @scullyio/init:post --name="awesome-owls"
Cool, let's open up our newly created post /blog/awesome-owls.md and add some content there:
---
title: awesome-owls
description: blog description
publish: false
---

# awesome-owls

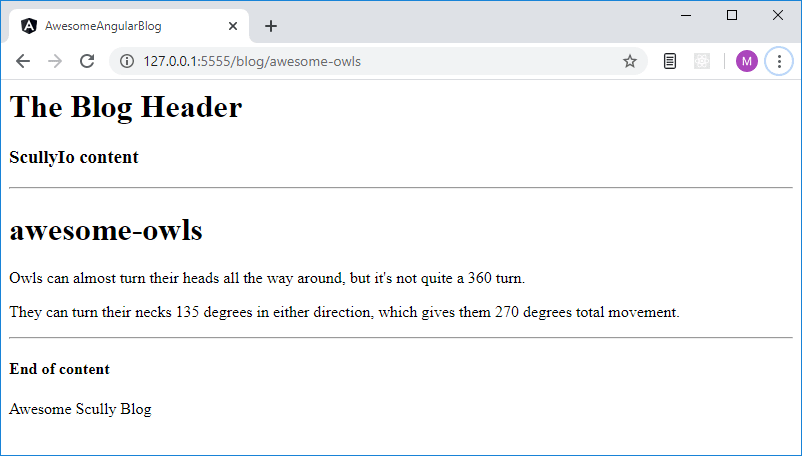
Owls can almost turn their heads all the way around, but it's not quite a 360 turn.

They can turn their necks 135 degrees in either direction, which gives them 270 degrees total movement.
Because Angular still can't read markdown, to see the contents of our post we need to build the project and run Scully again. Then they will be rendered and we'll see our static content.
ng build && npm run scully
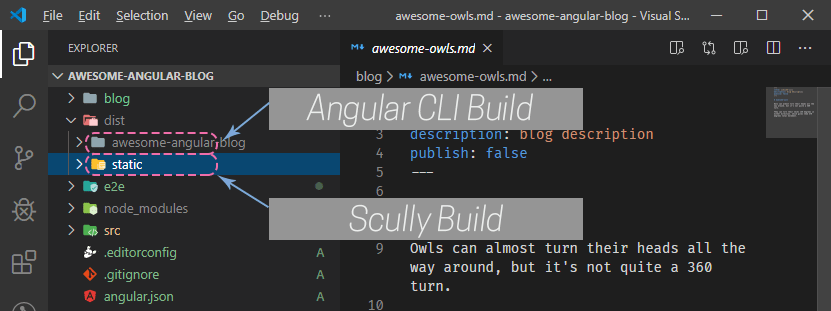
If we look at our dist folder, we'll see a static directory there which was created by Scully.
We can now serve this folder with any server like Nginx or Apache and see the contents of our post. The easiest option for us to check it out is to use NodeJS http-server.
Change into the static directory and run the following command in your terminal:
http-server -p 5555
After that, open http://127.0.0.1:5555/blog/awesome-owls in your browser and you should see the content of our markdown post.
Setting up a home page
Alright, let's add a list of available routes to our home page. For this, Scully has a special ScullyRoutesService.
Open the main src\app\app.component.ts file and import it at the top, then assign the ScullyRoutesService to scully.
import {IdleMonitorService, ScullyRoutesService} from '@scullyio/ng-lib';
import { Component } from '@angular/core';

@Component({
  selector: 'app-root',
  templateUrl: './app.component.html',
  styleUrls: ['./app.component.scss']
})

export class AppComponent {
 constructor (
    private idle: IdleMonitorService,
    public scully: ScullyRoutesService
  ) { }

  title = 'awesome-angular-blog';
}
Next, in the view file src\app\app.component.html add an ngFor loop that goes through all the routes and displays them on the page using routerLink.
<ul>
  <li *ngFor="let route of scully.available$ | async">
    <a [routerLink]="route.route">{{ route.title || route.route }}</a>
  </li>
</ul>
Ok, let's rebuild everything again by running ng build && npm run scully and visit our root page http://127.0.0.1:5555/.
Here we go. We have the basic functionality of the blog working.
From here you can add a bit of styling to make it more visually appealing, add more pages like About, Contact, create a list of categories, all the usual blog things.
The cool thing is that no matter what your blog will look like, it still can be rendered to static assets and served via any available CDN.
Keep in mind that this is an early alpha release, so there will be bugs, but with the team like HeroDevs I'm sure the product is in good hands.
Next Steps
If you got interested and want to know more, the docs have a lot of useful information like how to use the plugin system, how to get this to work with the existing Angular project, and so on.
Also, here are some useful resources on the topic:
Thanks for joining me, have a wonderful day!
This post was originally published on OwlyPixel Blog.





Top comments (5)
Thanks for the article! I'm excited that the Angular ecosystem now has a capable static site generator.
Thanks, I'm sure that guys from HeroDevs will do a great job with Scully.
As an Angular developer a Static site generator built on Angular is something I was looking forward to try. I currently use Gatsby for my blog and i love it but i'm curious to see how this Scully is
Yes, I love Gatsby too, it has been around for a while. Scully will be great not only for blogs but for large enterprise or corporate apps.
Previously if you had such an app, you had no easy way to get all those benefits and speed of statically generated pages. Now it will be possible to do within the same ecosystem. Isn't it great?
Scully is in early alpha now, they plan to release a beta version somewhere at the end of January. We'll definitely try to convert some of our larger apps to static then.
Glad I stumbled on this post. Been looking for a static generator for Angular. Can't wait to try this out!