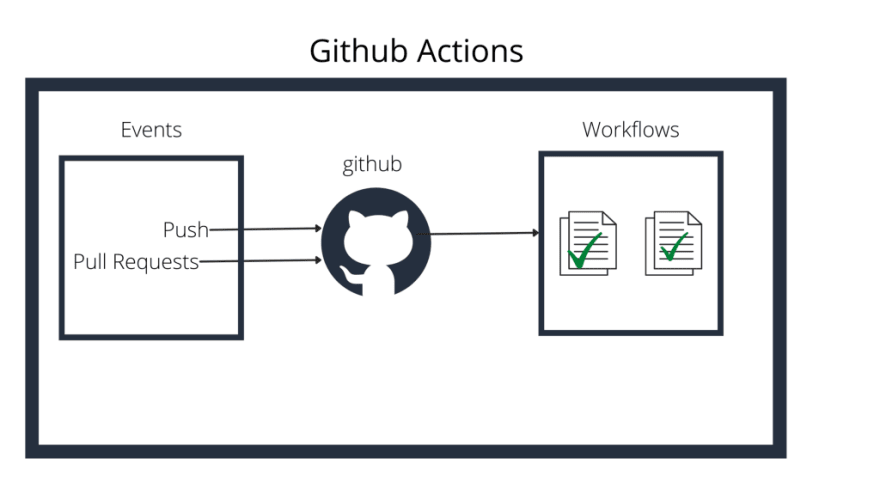
Github Actions makes it easy for developers to automate software workflows.
Before Github Actions, we had to use a CI/CD tool like Jenkins to trigger a build every time code is pushed to the repository. We also use to integrate these builds with plugins for code quality checks like Sonar.
These activities are usually performed by a designated DevOps team. On the other hand, consider an open-source project, one that runs purely from the support of contributors, how would you make sure the code quality is not degraded with too many people contributing to a project or that functionality is not broken by a new fix?
Github Actions helps us fix that issue. We can take actions based on the events that take place at the repository like push, PR, etc.
Let’s see how to configure a workflow in our project.

Photo by Roman Synkevych on Unsplash
The end goal of each workflow depends on the use case but the most commonly used workflow is CI/CD. You can also define more than one workflow, one for deployment, one to send out a greeting message, and so on.
Each workflow is written in its own file and follows yml syntax. File extension could be yml or yaml and the name of the file could be anything that the developer decides.
All the workflow yml files must be placed under the “.github/workflows” directory of your repository.
Workflow File Items
Let’s start with the most basic items that are part of the workflow files.
name: Deployment
on:
  push:
    branches:
      - main
  pull_request:
    branches:
      - main
name: This field names the workflow, which will show up under the GitHub actions tab once the workflow runs. (Check below image)
on: Under this field, we define the events that should trigger the workflow to run.
In the above sample file, we have defined two events, push and pull_request, that would trigger the workflow to run.
If we want the deployment workflow to trigger only when source code is modified then we can explicitly mention that like below.
on:
  push:
    branches:
      - main
    paths:
      - '**.java'
By explicitly providing the paths as'**.java' in our yml file, we can make sure that only when “.java” file under the “main” branch is committed, our workflow will run.
Yet another way of defining the directories that need to be avoided and included is given below. “!” indicates we wish to avoid the path.
on:
  push:
    paths:
      - 'sub-project/**'
      - '!sub-project/docs/**'
In the above configuration, the workflow will run if the commit file is under “sub-project" directory but it will not run if the file is under “sub-project/docs" directory.
jobs:
  build:
    name: Build
    runs-on: ubuntu-latest
    steps:
      - uses: actions/checkout@v1
      - name: Set up JDK
        uses: actions/setup-java@v1
        with:
          java-version: '8'
Another item that usually follows “on” is “jobs”.
Events defined under the “on” key will trigger the items defined under the “jobs” key.
One or more jobs would be usually listed in a workflow with each having its own unique job id. In the above sample yml file “build” is the job id.
Next, we define the name of this particular job, which will show up under the GitHub Actions tab when the workflow runs, as shown below.
runs-on: Each job runs in a virtual server called runner environment. We can choose the environment we want to run these jobs on from macOS, Ubuntu, and Window Servers.
steps: This is a sequence of tasks under a job. This could run actions that are available in public repositories( so we do not have to write them again), or set up tasks like running an application build.
If we are using an existing action as one of the steps we can declare that using “uses” keyword, if we are defining the command then that can be declared using “run” keyword. Check the sample file below.
We can search for pre-defined actions at github.com/actions repository and use them as needed.
build:
  name: Build
  runs-on: ubuntu-latest
  steps:
    - uses: actions/checkout@v1
    - name: Set up JDK
      uses: actions/setup-java@v1
      with:
        java-version: '8'
    - name: Build with Maven
      run: mvn -B package -DskipTests --file pom.xml
Each job runs in a virtual server and is run parallelly by default. If one job has a dependency on another one like deployment and build, then we will have to execute them sequentially. This is achieved by declaring a job dependency using the “needs” keyword.
deploy:
  needs: build
  name: Deploy
Refer to the official documentation of GitHub Actions to learn about all the features that could be included in a workflow and to find the right keyword used in different use cases.
Conclusion
Github Actions has given a big boost to the open-source software community and to developers working on various side projects to automate the many flows without any additional configuration and downloads.
Even the autocluck project that I was working on to schedule my tweets is using Github Actions now to deploy the app to AWS. If you would like to check the workflow file for that project for reference, it's available on Github.


Top comments (0)