Introduction
Some days ago i stumbled upon the amazing small-tech.org project by Aral Balkan and Laura Kalbag. I have been following their work for a while and i'd like to support them a bit by using and exploring their Small Web construction set. It comes bundled with the Hugo static site generator, so I was immediately able to use the nice Ghostwriter Theme for this blog.
Installing Site.js and Initiating a Hugo project
Everything started with the installation of Site.js as recommended by the developer. Type the following code in your favourite command line tool (i use Hyper or the built-in terminal from VSCode).
curl -s https://sitejs.org/install | bash
Now you are ready to create a folder for your Hugo project and jump into it:
mkdir my-hugo-blog
cd my-hugo-blog
and create a new site using the following command:
site hugo new site .hugo
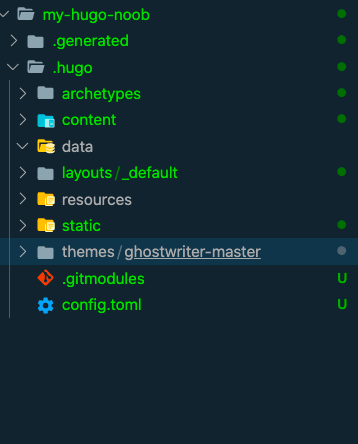
Now you'll find the Hugo folder structure in the directory you created. Open this in your favourite code editor.
Installing a Hugo Theme
For starters i chose the Ghostwriter Theme from https://themes.gohugo.io, but this is really up to you.
Instead of cloning the repo into my directory i chose to download the .zip from the Github Page and unpacked it in the themes-folder of my Hugo project.
Now we have to tell our project that we want to use the installed Theme. Open the config.toml file in the projects root directory. Mine looks like this:
baseURL = "/"
languageCode = "en-us"
title = "SubGuy's Devblog"
theme = "ghostwriter-master"
paginate = "10"

[Author]
name = "Subliminal_Guy"


[Params]
mainSections = ["post"]
intro = true
headline = "subguy's devblog "
description = "babbeling code since 2017"
github = "https://github.com/SubliminalGuy"
gitlab = "https://gitlab.com/subliminal_guy"
twitter = "https://twitter.com/SubKid"
opengraph = true
shareTwitter = true
dateFormat = "Mon, Jan 2, 2021"
authorbox = true

[Permalinks]
post = "/:filename"
Copy everything. The most important part for now is, that you set the title as you like and the theme to "ghostwriter-master" (or whatever the directory name for your installed theme is - it has to be verbatim).
Take a look at the [Params]. Most of them are pretty self-explanatory. You can play around with them later.
Now you can copy the post-folder in "themes/ghostwriter-master/exampleSite/content" (respectively "themes/YOUR-THEME-FOLDER-NAME/exampleSite/content") into the content-folder of your projects root directory.
Launching the blog
Now start the development server by typing the following command into the terminal. This should work from your root directory.
site
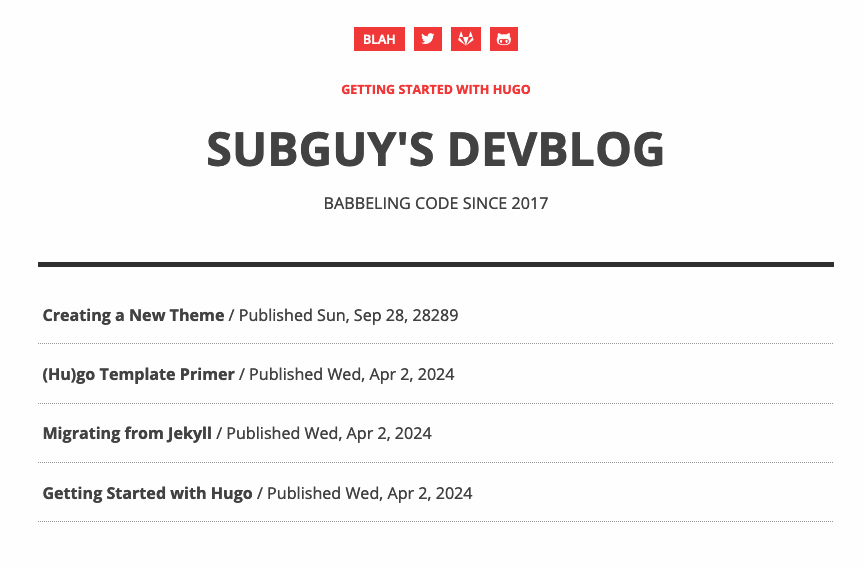
If you now check your browser at https://localhost you should see the following:
I deleted all the blogposts and created a new one with the following prompt:
site hugo new post/building-a-devblog.md
In this file I finally entered the Markdown for my first blog post that you're currently reading.
And now?
The deployment of this blog on a VPS of your choice is as easy as it gets. Simply install Site.js in the designated directory, upload the files we created and enter:
site enable
Your blog should be live immediately. Enjoy!


Top comments (0)