
Originally published in Medium.

Overview
In this comprehensive series, I will show you how to build a basic full-stack React Native app to let users upload and display photos to/from Firebase storage using their mobile phones.
We will explore the following topics:
Create and configure a Firebase Storage back-end for a React Native app.
Access the device library and select a photo using React Native Image Picker.
Upload photos to Firebase Storage.
Build a tracker to show upload progress.
Display photos from the Firebase URIs.
Here is a video demo of the final implementation you are going to build in this series.
You can find the full code in Github.
Prerequisites
Make sure you have all the tools to run a React Native app on your machine for both iOS and Android.
If you’ve never worked with React Native before, you need to follow the step-by-step installation guide in the official docs. (Stop at the Running your React Native application section).
For the purpose of this tutorial, make sure to choose the option React Native CLI.
One more thing. To avoid dependencies mismatch, I recommend you install the same dependencies versions as in my package.json at the GitHub repo.
1. Start a New React Native Project
Run the following command in your terminal.
npx react-native init RNFirebase
Navigate into the project root directory.
cd RNFirebase
Run the app in the iOS simulator by typing the command.
npx react-native run-ios
For Android, make sure you have an emulator running. Type the command.
npx react-native run-android
If all goes well, you should see the app running in your iOS simulator and Android emulator.

Note
If you have trouble running the app in your Android emulator, open your projectName/android/build.gradle file in the emulator and run it first. Then, try to run the app again from the terminal.
2. Add Firebase to Your Project
If you are not already a member, you need to sign up for Firebase Cloud Services. Once this is done, you can now navigate to the Firebase console and create a new project. Name it as you wish.

In order to integrate Firebase into our React Native app, we will use the awesome open-source react-native-firebase library from Invertase.
Add the library to your project by typing the following in your terminal.
yarn add @react-native-firebase/app
You need to perform additional configurations to make react-native-firebase work with Android and iOS.
2.1. Configure Firebase for Android
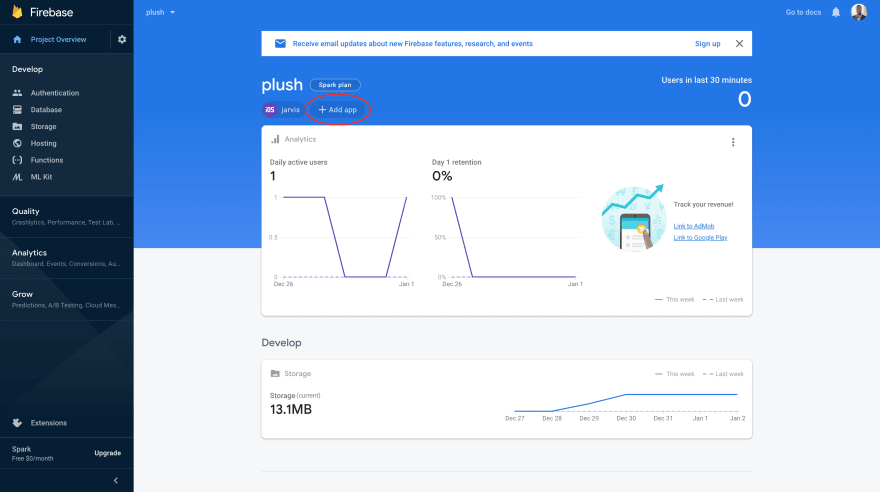
Open your newly-made project in the Firebase console. Press the + Add app button as shown below.
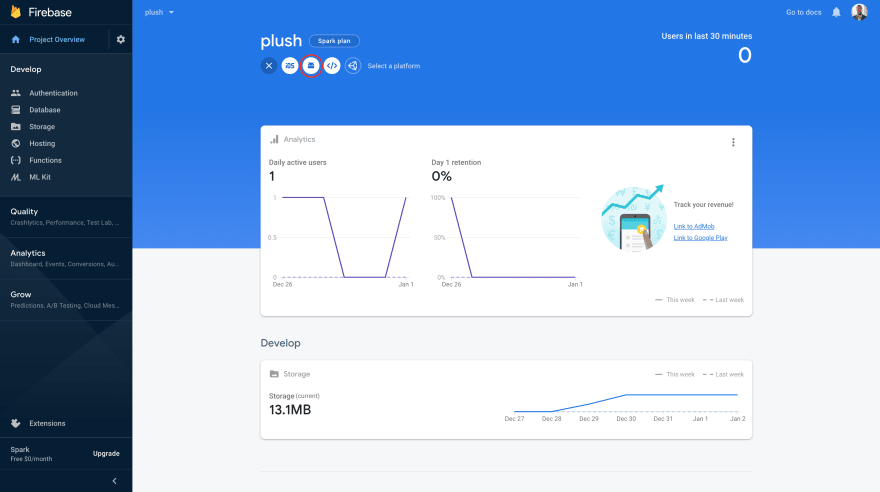
Select the Android icon as shown below.
You need to fill in the info in order to register the app (figure below).
The first field is mandatory while the other two are optional. The Android package name (first field) can be obtained from android/app/build.gradle. Copy the string value of applicationId.
applicationId "com.RNFirebase"
Then, fill in the app nickname field. You can leave the third field blank. The panel should look like this.

Press on Register app. This is it for step 1.
Step two is to download the google-services.json file.

Press the download button then add the file to your project at the following location RNFirebase/android/app/.
Step three for adding the Firebase SDK is not necessary when using react-native-firebase.
Now, inside your project, navigate to android/build.gradle and add the google-services dependency.
buildscript {
  dependencies {
    // ..
    classpath("com.google.gms:google-services:4.2.0")
  }
}
To apply the plugin, go to android/app/build.gradle and add the following line of code at the very bottom of the file.
apply plugin: 'com.google.gms.google-services'
2.2. Rebuild your Android project
Close the existing terminal (metro bundler running your app) and run the app again.
npx react-native run-android
If you are having build issues, you can first rebuild the project by launching your Android studio emulator, opening your projectName/android/build.gradle file, and running it.
Once the build is successful, go back to your terminal and run the npx command again. The app should launch with no errors. Your React Native Android app is now connected to your Firebase project.
Optional
You can go back to the Firebase console and run step four. You should see a success message indicating the installation is complete.

2.3. Firebase setup for iOS
We will now configure Firebase to work with iOS.
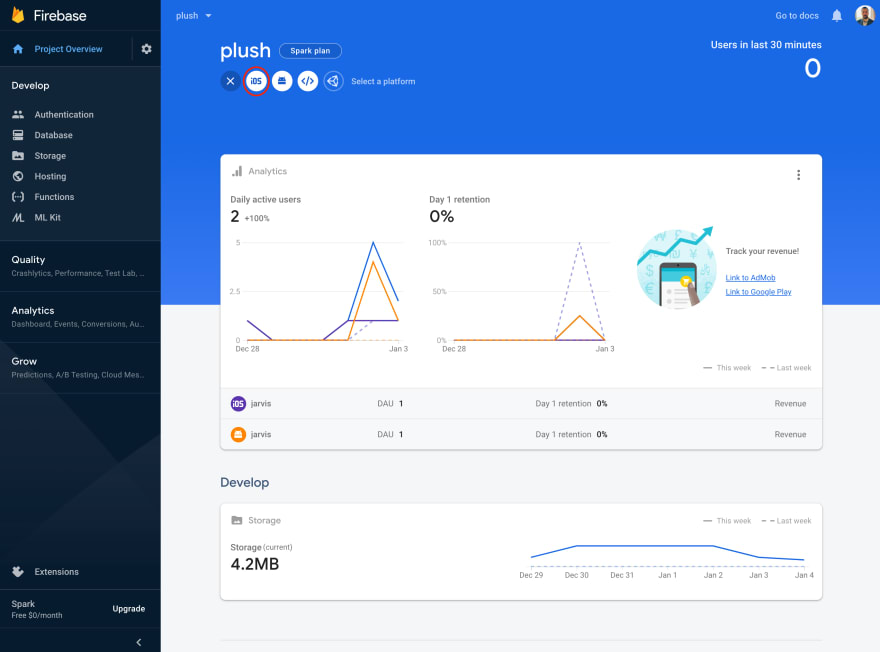
Go to your project dashboard in the Firebase console and this time, when pressing the Add app button, select iOS as shown in the figure below.
Similar to the Android case, you will be prompted to fill in the following form.

You can add an app nickname (field two) and leave field three empty.
Field one, though, requires the iOS bundle ID. To get your iOS bundle ID, follow these steps.
Open Xcode.
Press open a new project.
Open the following file:
RNFirebase/ios/RNFirebase.xcworkspace.Go to the General tab as shown in the below figure.

The Bundle Identifier is the second field in the Identity section.
org.reactjs.native.example.RNFirebase
Copy and paste it into field one in the Firebase console. Now, press the Register app button.
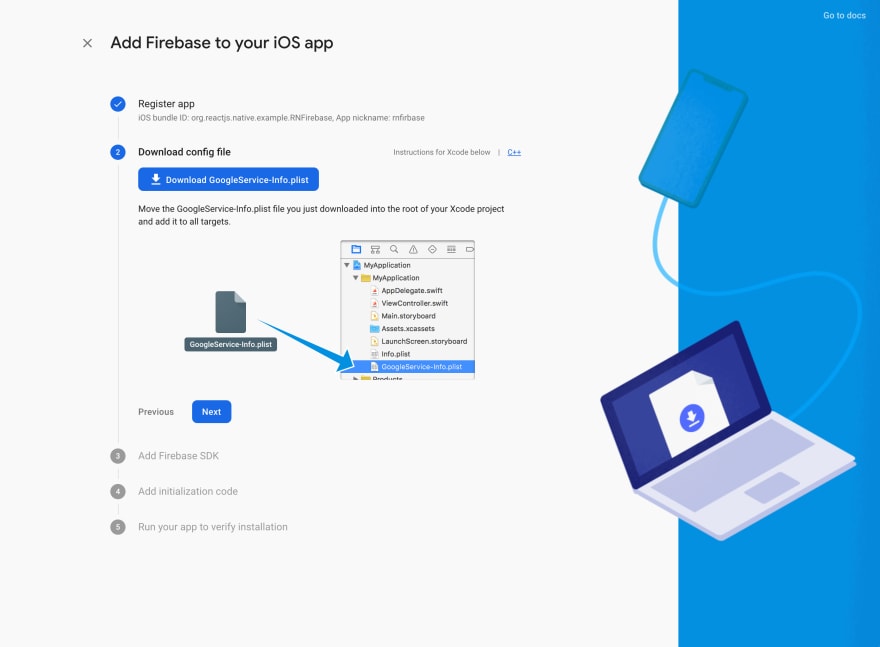
For step two, press the download button to get the GoogleService-Info.plist file locally.
You need to move GoogleService-Info.plist inside your project. To do so, open RNFirebase/ios/RNFirebase.xcworkspace using Xcode. Right-click the project name and select Add Files to RNFirebase (see below).
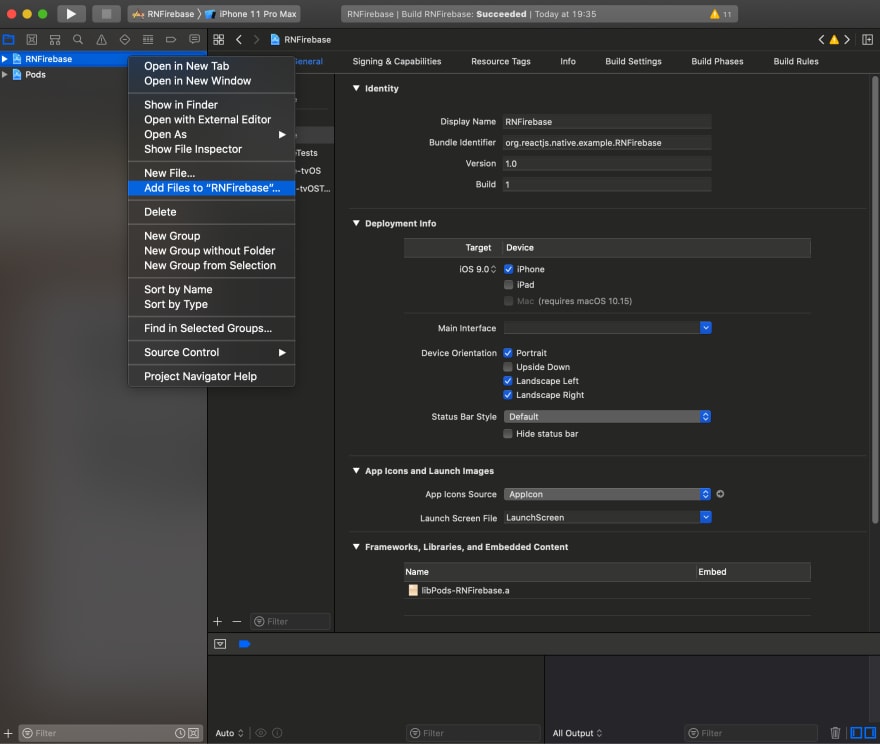
A window will pop up. Select the GoogleService-Info.plist file. Make sure that Copy items if needed and Create groups are checked (as seen in the figure above).

Press the Add button.
Next, open the following RNFirebase/ios/RNFirebase/AppDelegate.m file in your editor of choice (preferably from Xcode since you are already there) and add the following import at the top.
@import Firebase;
Within the didFinishLaunchingWithOptions function, add the following code (bold text).
- (BOOL)application:(UIApplication *)application didFinishLaunchingWithOptions:(NSDictionary *)launchOptions {
  // add this
  if ([FIRApp defaultApp] == nil) {
    [FIRApp configure];
  }

  // ..
}
Save and close.
2.4. Rebuild the iOS project
Go back to your terminal and kill any metro bundler running. You need to rebuild the project and run it again. From the root of your project, do the following.
cd ios
pod install --repo-update
This should kick-start the installation of the dependencies.

Time to rebuild the app. Go back to your project root and relaunch the simulator.
cd ..
npx react-native run-ios
Back in the Firebase console, you can skip step three and step four as they are taken care of by the react-native-firebase library. You can run step five to verify that the installation is complete.
Conclusion
Congratulations. Now you have successfully configured react-native-firebase for iOS and Android.
In the next parts, we will build an app to access the device’s library, upload photos from the device to the Firebase Storage and retrieve the photos to display them on the device. You can jump to part 2 right here.


Top comments (0)