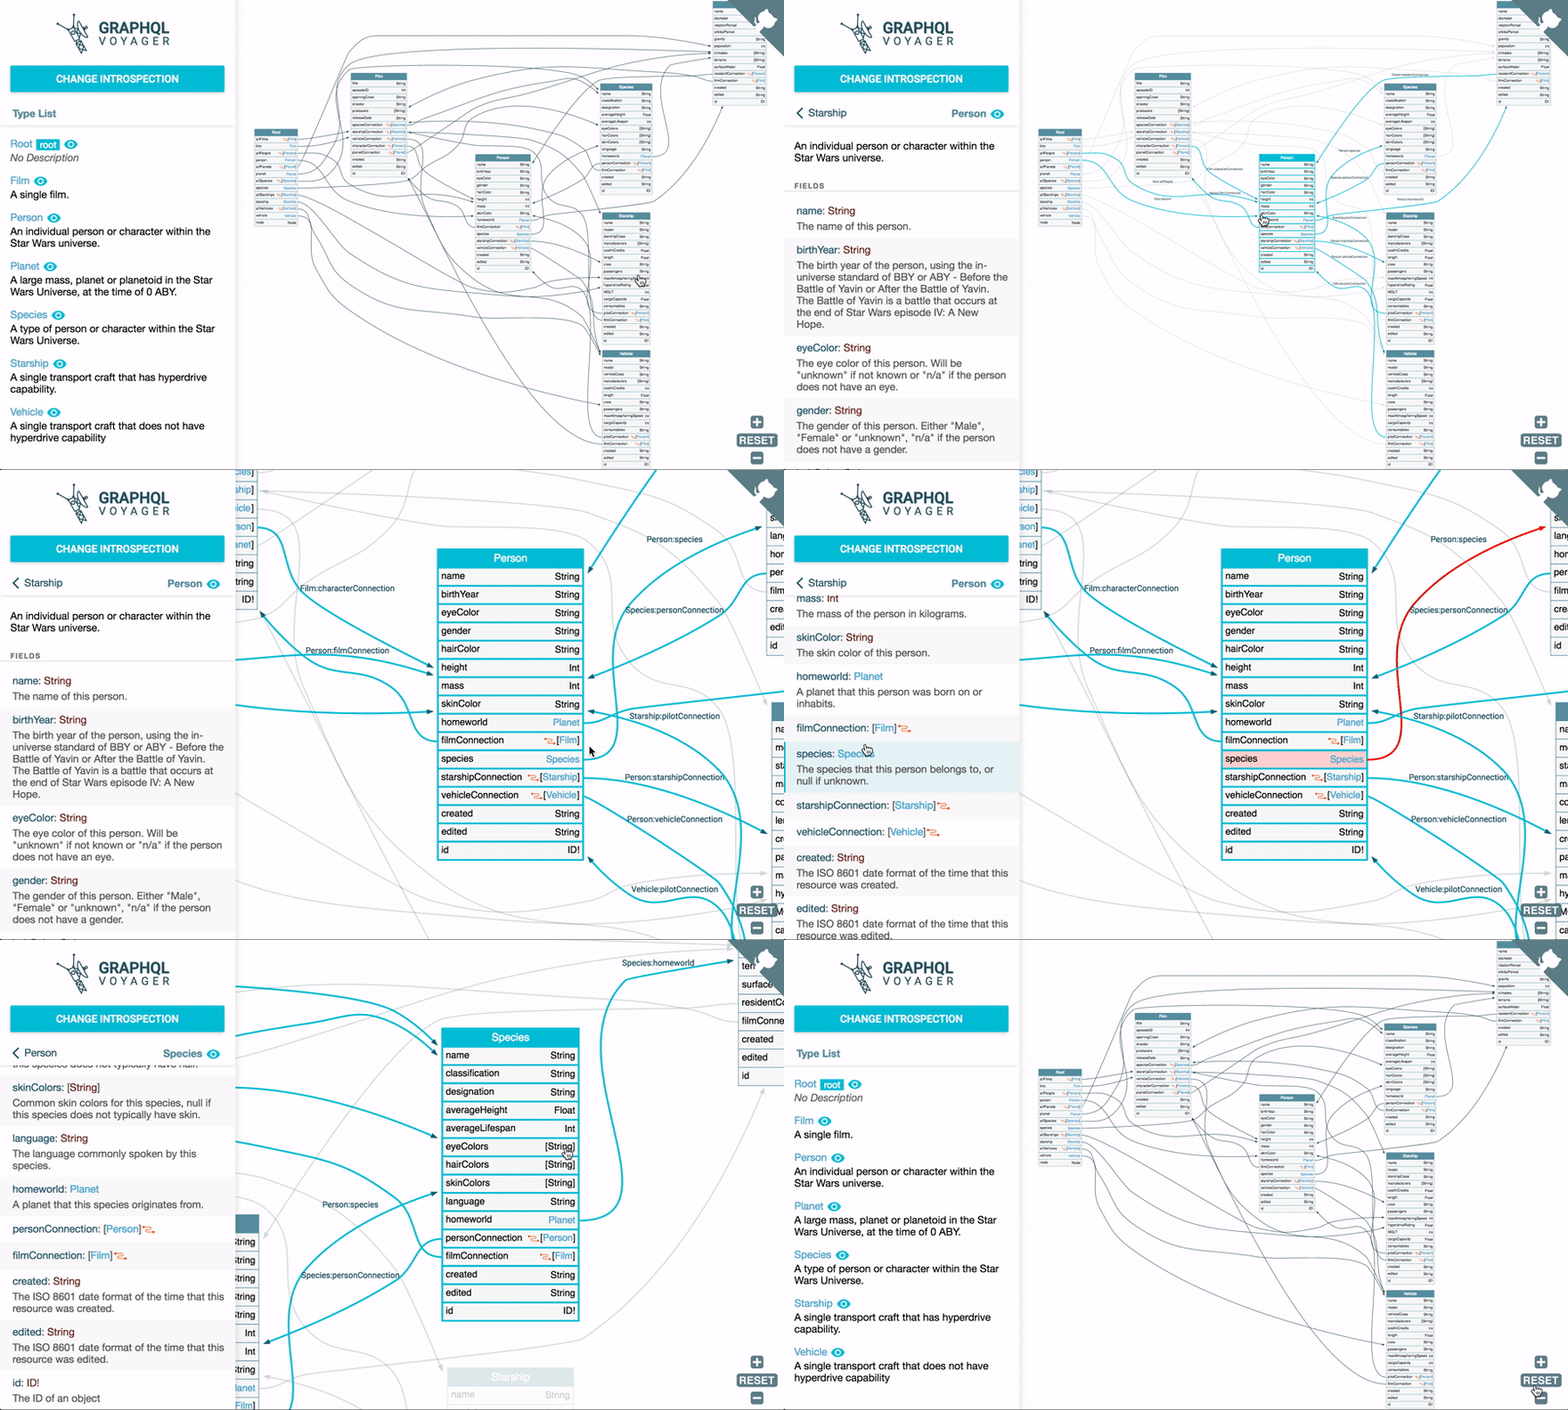
Hi, today I wanted to share with you an easy way to visualize your Graphql schema.
Prefer watching to reading, :) here is video for ya :)
When you hear word documentation, you're probably picturing something which reminds you Apollo studio doc page or swagger doc page.
And don’t get me wrong, those kinds of documentation are good enough, but when I think about it, I think that I would like to see something like a bird eye view of your documentation,
where you could quickly jump between different parts of your visualized schema and see what is connected to what.
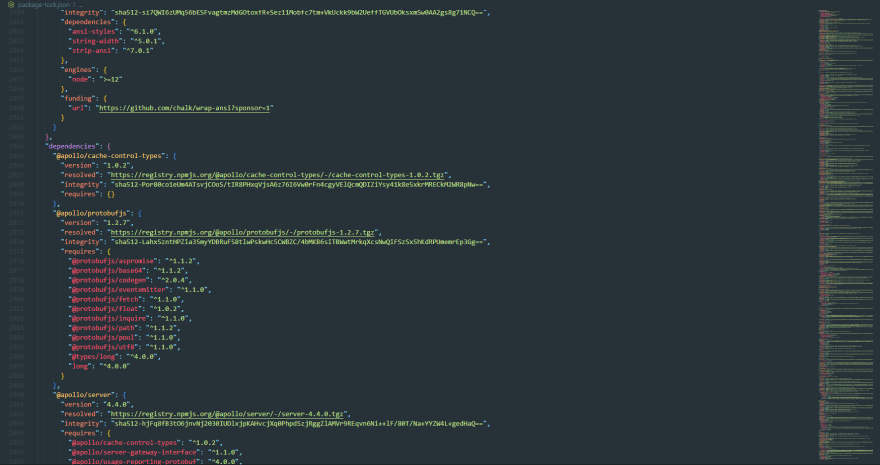
For example, something like bird eye view VS Code
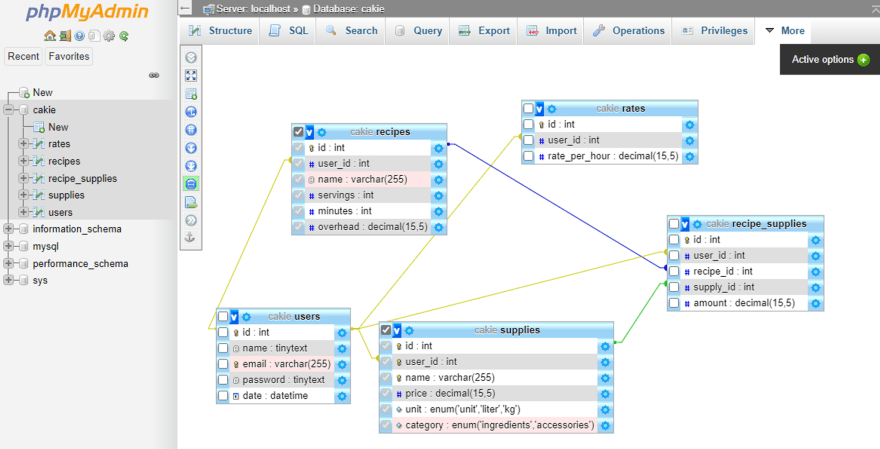
or something a little bit closer to what we will have at the end of this tutorial, something like SQL builder in PhpMyAdmin :)
So what I wanted to share with you today is Voyager.
There are a few ways to integrate it into your project. Here I will show you how to do it as a standalone application.
I choose standalone version cause:
- Don’t want to mix documentation with actual BE or FE code
- Don’t want to rebuild it after any changes to schema (kinda build once, use always)
- Don’t want to extend CI time even with few extra seconds
But if you want to integrate it to build process, feel free to check voyager documentation for more details. Or left a comment that you need it 🙂
So let’s start
mkdir graphql-voyager-example && cd graphql-voyager-example && npm init --yes
Install deps
npm install @apollo/server graphql serve npm-run-all
extend package.json
{
  // ...etc.
  "type": "module",
  "scripts": {
    "start:gql": "node gql-server/index.js",
    "start:serve": "serve -C voyager",
    "start": "run-p start:gql start:serve"
  }
  // other dependencies
}
create GQL server
mkdir gql-server && touch gql-server/index.js && touch gql-server/schema.js
schema.js
  type Root {
        query: Query
        mutation: Mutation
    }

export const typeDefs = `#graphql
    type Todo {
        id: ID!
        content: String!
        completed: Boolean!
    }

    type Query {
        todos: [Todo!]!
    }

    input AddTodoMutationInput {
        content: String!
    }

    input UpdateTodoMutationInput {
        id: ID!
        content: String
        completed: Boolean
    }

    type Mutation {
        addTodo(input: AddTodoMutationInput! ): Todo!
        updateTodo(input: UpdateTodoMutationInput!): Todo!
    }
`;
server index.js
import { ApolloServer } from '@apollo/server';
import { startStandaloneServer } from '@apollo/server/standalone';
import { typeDefs } from './schema.js'

const server = new ApolloServer({
    typeDefs,
    resolvers: {},
});

const { url } = await startStandaloneServer(server, {
    listen: { port: 4000 },
});

console.log(`🚀  Server ready at: ${url}`);
voyager/index.js
const introspectionProvider = (introspectionQuery) => fetch('http://localhost:4000', {
    method: 'post',
    headers: {
        Accept: 'application/json',
        'Content-Type': 'application/json',
    },
    body: JSON.stringify({
        query: introspectionQuery,
    }),
})
    .then((response) => response.json())

// Render <Voyager /> into the body.
GraphQLVoyager.init(document.getElementById('voyager'), {
    introspection: introspectionProvider,
    displayOptions: {
        rootType: 'Root',
    }
});
voyager/index.html
<!DOCTYPE html>
<html>

<head>
    <script src="https://cdn.jsdelivr.net/npm/react@18/umd/react.production.min.js"></script>
    <script src="https://cdn.jsdelivr.net/npm/react-dom@18/umd/react-dom.production.min.js"></script>
    <link rel="stylesheet" href="https://cdn.jsdelivr.net/npm/graphql-voyager/dist/voyager.css" />
    <script src="https://cdn.jsdelivr.net/npm/graphql-voyager/dist/voyager.min.js"></script>
</head>

<style>
    #voyager {
        height: 95vh;
    }
</style>

<body>
    <div id="voyager">Loading...</div>
    <script src="./voyager.js"></script>
</body>

</html>
You could use a standard approach and install everything through NPM, but I think this approach is enough for such a small project.
Source code (GitHub)


Top comments (0)