
In the first article of the series, we have set up our frontend project, created some basic components, and added some base styling.
If we want that Sign In With Google button to actually do something, we have to connect it to Google services. This means we need to tell Google some details about our project, like the project name, who's going to be using it and what information from the Google profile we want to use.
So we have to set up a project in Google Console, and this is what we'll be doing in this article!
First, we need to create and setup the project. To do that, we simply go to https://console.cloud.google.com/ click the Select Project dropdown at the top of the screen, and create a new project. For the Project Name we will pick Next Google Auth, and in the Organization field pick No Organization*.

After the project is created, we need to configure it, starting with the OAuth Consent Screen.
Setting up the OAuth Consent Screen
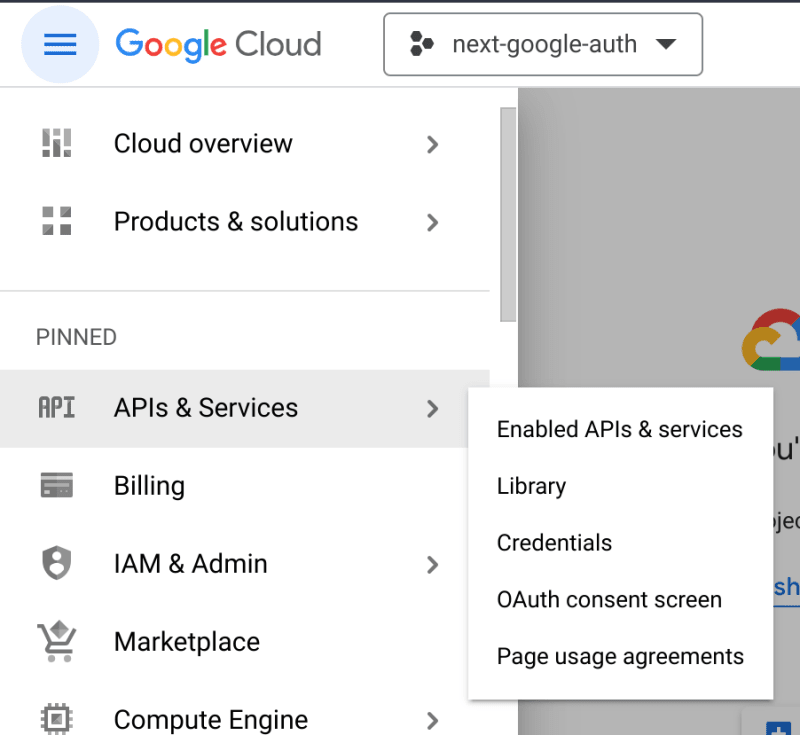
After your project is created, select it, and navigate to the APIs & Services -> OAuth Consent Screen.
We need to define certain OAuth consent parameters, like if the app will be for internal or external use, what the app name will be, etc.
We will select certain options for the purposes of this demo, but feel free to change your selection to however you see fit depending on your needs.
A note on Google Cloud project configuration: Initially, when the Google Cloud project is created, it is put in TESTING mode, and you can change the settings as much as you want until you decide to publish your project. However, please note that after you PUBLISH the project, you will need to submit your app for verification, before you can change the project settings again!
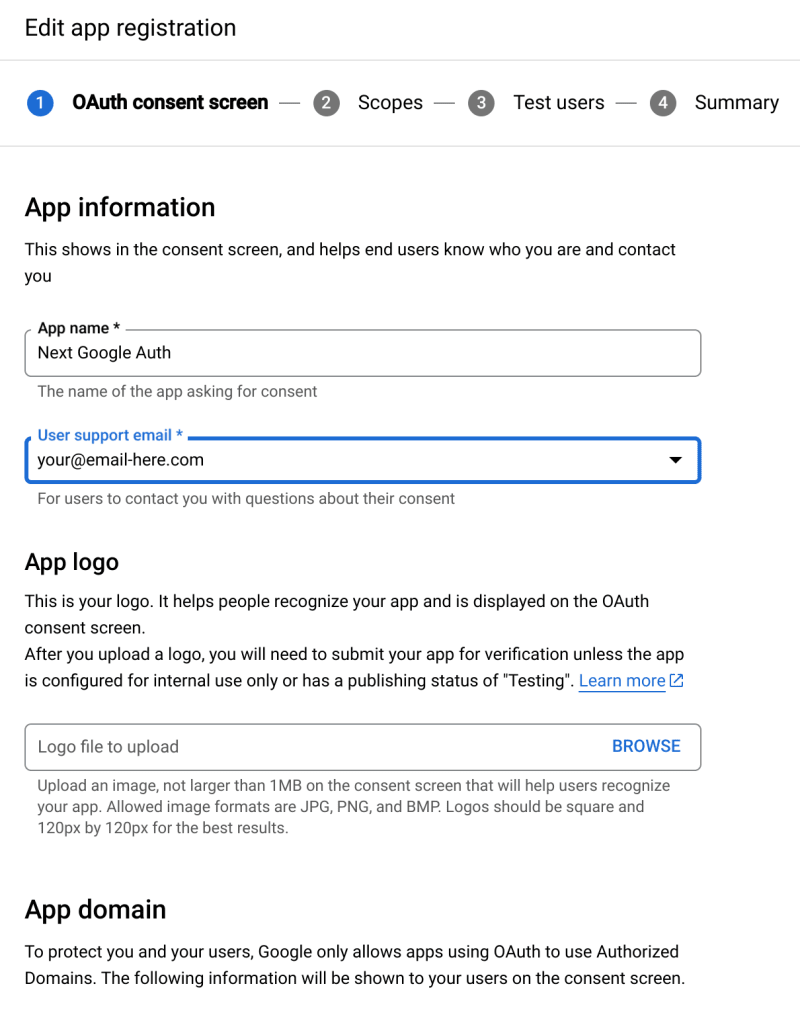
In the OAuth consent screen step we just need to provide some basic info about the app, and who is going to support it. So choose the following:
- Our User Type will be External.
- Our App name will be Next Google Auth.
- Our User support email and Developer contact information email will be the same (you can use your own google email address here).
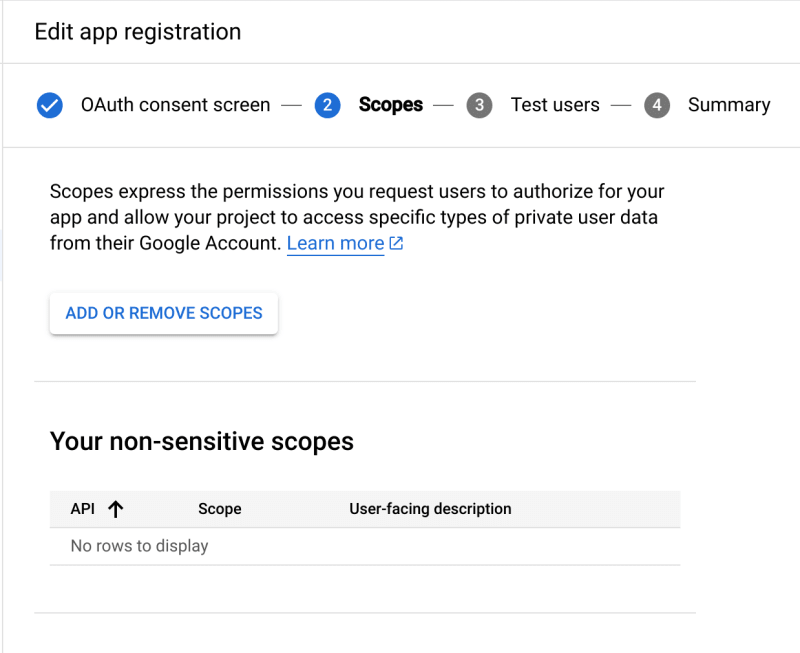
In the next step Scopes, we define what user info we want to grab from google services. There's a lot of info we can get, but we are only interested in the users email and some profile info for this specific app, so:
- Select ADD OR REMOVE SCOPES
- Select
../auth/userinfo.emailand../auth/userinfo.profile. - Hit UPDATE and continue to the next step.


Finally, go ahead and add your email as a Test Users for now.

That's it! We've finished with the consent screen configuration. The final screen is just an overview of the things we selected/entered, so make sure everything is correct.
After we're done with our consent screen configuration, we can continue and create our Credentials.
Setting up our OAuth Credentials:
We need to setup our OAuth Client ID and Client Secret, so we can connect our frontend app with our newly created Google Cloud Project.
To create these credentials, go to Credentials -> CREATE CREDENTIALS -> OAuth client ID
- Under Application Type make sure you select Web Application.
- Make sure to define an entry under Authorised redirect URIs as
http://localhost:3000/api/auth/callback/google. - Click Create.


Why do we have to specify a redirect URI?
After Google has verified that the user signing into your app is in fact a Google user, it needs to know where it can safely send the information we requested in the Selected Scopes (in our case we only requested the user email and profile information).
This token can contain sensitive data, so we have to make sure that we are redirecting to a safe URI.
We now have our Client ID and Client Secret! With these 2 strings, we can finally connect our frontend app with our freshly created Google Cloud Project, and put those Sign in/Sign out buttons to good use!


Top comments (0)