In this article, we'll cover some best practices to create HTTP requests just using the Angular AsyncPipe. If you ever thought about making HTTP requests without calling .subscribe(), then you're on the right page.
Why AsyncPipe?
According to Angular AsyncPipe documentation:
The
asyncpipe subscribes to anObservableorPromiseand returns the latest value it has emitted. When a new value is emitted, theasyncpipe marks the component to be checked for changes. When the component gets destroyed, theasyncpipe unsubscribes automatically to avoid potential memory leaks.
The most important part here is "when the component gets destroyed, the
async pipe unsubscribes automatically to avoid potential memory leaks." These being said, we don't have to worry about unsubscribing the Observables, the AsyncPipe will take care for of it us - good practice (and the most important).
The Observables
Let's create some observables and get started:
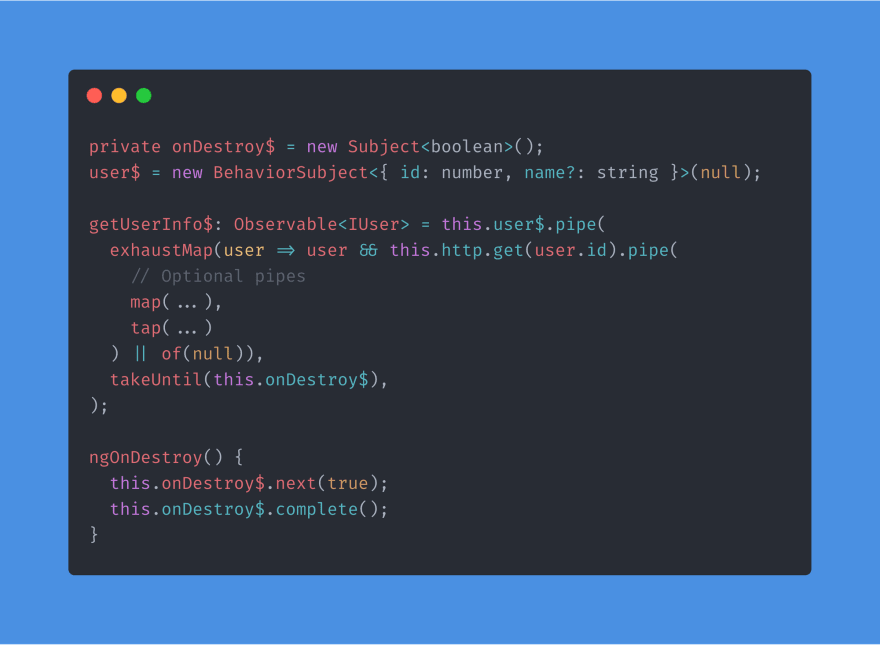
private onDestroy$ = new Subject<boolean>();
user$ = new BehaviorSubject<{ id: number, name?: string }>(null);
As you can see, I defined two Observables, onDestroy$ and user$. It's a good practice to have an observable which will be called when the component gets destroyed, but I'll talk later more about it.
Based on user$ BehaviorSubject, we'll create a new Observable getUserInfo$ which sends a server request - each time the user$ gets emitted:
  getUserInfo$: Observable<IUser> = this.user$.pipe(
    exhaustMap(user => user && this.http.get(user.id).pipe(
      map(...),
      tap(...)
    ) || of(null)),
    takeUntil(this.onDestroy$),
  );
If you don't understand what's going on in this code and the .pipe function is unclear for you, maybe you should first take a look at this article and then continue reading!
There are two Operators to pay attention, exhaustMap and takeUntil. Of course, you can add more operators, but these two are the most important.
Using an exhaustMap operator we can be sure that getUserInfo$ will always wait for the server response, even if the user$ emits a new value, it's the opposite of the switchMap operator. See the picture below:

You can read more about RxJs Mapping here, to have a better idea of why we used exhaustMap and not other mapping operators.
takeUntil subscribes and begins mirroring the user$ Observable. It also monitors a second Observable, this.onDestroy$ that we provided. If the this.onDestroy$ emits a value, the getUserInfo$ Observable stops mirroring the user$ Observable and complete. For more info about takeUntil, see the official documentation.
Subscribing via Angular AsyncPipe
Now as we created the getUserInfo$ Observable, let's see how to subscribe to it using AsyncPipe :
<ng-container *ngIf="getUserInfo$ | async as user">
    {{ user | json }}
</ng-container>
And then just emit a new value for user$ in order to trigger the server request:
<button mat-icon-button (click)="user$.next({ id: 2, name: 'John Doe' })">
    Get user with id 2
</button>
Now, if we click the button, even if we double-click, the getUserInfo$ will send a server request and emit new user info which will be handled by Angular AsyncPipe and in turn, will insert new user info into the page.
As we use takeUntil operator, we have to emit some value for this.onDestroy as well as complete it, takeUntil is optional here, as we subscribed to getUserInfo$ via Angular AsyncPipe which takes care of unsubscribing when element gets destroyed, but anyway, it's a good practice and it's good to know about it.
  ngOnDestroy() {
    this.onDestroy$.next(true);
    this.onDestroy$.complete();
  }
Conclusion
Now we don't have to worry about memory leaking, as we did the best practices for subscribing and unsubscribing from Observables. We can be sure that our code will work faster as AsyncPipe allows us to change the changeDetection of our component to ChangeDetectionStrategy.Push, which (after me) is the best way to optimize a component and as well a good practice.
Haven't you tried yet? Try it and let me know how it works for you 💻.


Top comments (0)