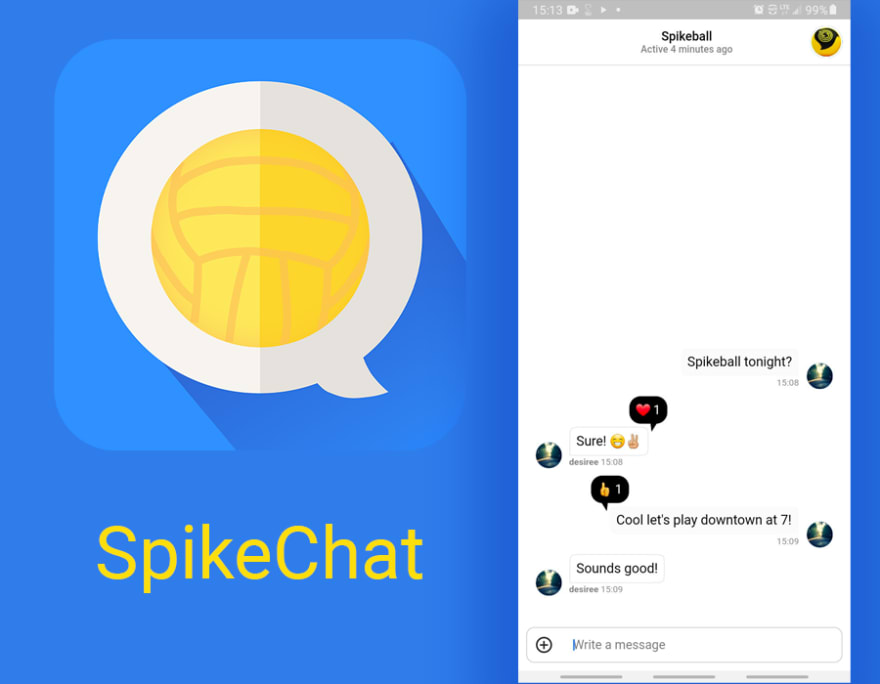
This article is part of a series on building a fully functional Flutter app with Stream. All other parts, as well as the finished code, can be found below.
Since the configuration is all done, it is time to get to coding 👨🏻💻. Let’s do it!
App Flow:
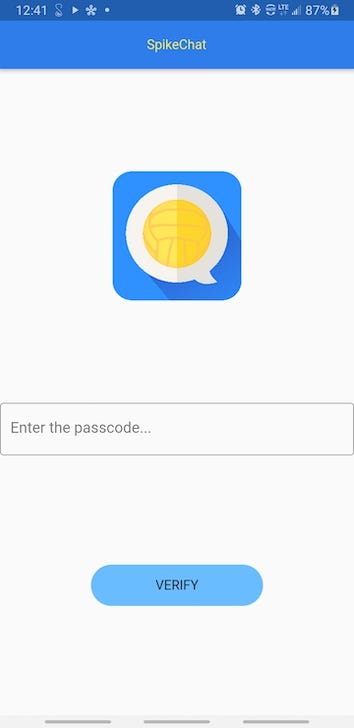
Here is how the app works. When someone opens it for the first time, they need to enter a passcode to continue. Once they enter the passcode, they get to choose a username. After choosing a username, they are authenticated and brought to the Spikeball chat screen.
After opening the app for the first time, they are brought to a screen that shows their username and allows them to go to the Spikeball chat screen. When they click ‘continue’, they are re-authenticated with the app using their original username they set.
Let’s dive into the code and see how this works!
main.dart
The main.dart file is pretty simple. All I do is initialize the shared preferences and decide which screen to load depending if they have already entered the passcode or not.
If they have not entered the passcode (using the app for the first time), they will be brought to the Entry Screen:
Once they successfully enter the passcode, I set the ‘isValidated’ setting in shared preferences to true. So next time they open the app, they will not have to enter it again. If they do not enter the correct passcode, they will not be able to access the app, thus I know that only my friends who I share the passcode with will be able to use the app.
Here’s the code for the Entry Point screen:
If they have already entered the passcode, I load the HomeScreen. If it is the first time opening the app, I have them set their username and create a user with the username. If they have already set a username, I show the username and a continue button to go to the chat. Again, I use shared preferences to save the username, so I can re-authenticate my friend with the username they already set.
Below is the code for Home.dart:
Authenticating the User with Stream
To authenticate the user, I use the start_jwt plugin to generate a token with the Stream app secret. The Stream client has an argument ‘tokenProvider’ which allows us to pass a function we want to use to generate an authentication token. I put all the code into a separate class ‘ChatModel’. Although I am not implementing the provider functionality, I made this class extend it in case I want to build upon this app in the future and add multiple chats, which would would be a great use case for provider.
When my friend enters a username, I authenticate the client and set the user. I call the setUserWithProvider method on the client, set the id as the username they entered, set the channel type to ‘mobile’, and name the channel “Spikeball”. Channels represent chat rooms. The ‘extraData’ parameter can be used to set additional fields such as images.
*await *client.setUserWithProvider(User(
    id: 'id_$userId',
    extraData: {
      'name': '$userId',
      'image': 'https://picsum.photos/100/100'
    }));

*final *channel = client
    .channel('mobile', id: 'Spikeball', extraData: {
  'image':
      'https://scheels.scene7.com/is/image/Scheels/85375900555?wid=400&hei=400&qlt=50'
});
channel.watch();
Similarly when returning to the app, I authenticate the user with nearly identical code. The only difference is that I use the username they already entered, so they do not have to enter it again and so another user is not created:
*await *client.setUserWithProvider(User(
    id: 'id_${sharedPrefs.username}',
    extraData: {
      'name': '${sharedPrefs.username}',
      'image': 'https://picsum.photos/100/100'
    }));

*final *channel =
    client.channel('mobile', id: 'Spikeball', extraData: {
  'image':
      'https://scheels.scene7.com/is/image/Scheels/85375900555?wid=400&hei=400&qlt=50'
});
channel.watch();
Using the Stream Chat Widgets
Implementing the Stream chat widgets is pretty simple. We just need to put a ‘StreamChat’ widget at the top of the widget tree and pass the client to it, add a ‘StreamChannel’ widget as the child and specify the channel, and add the (visual) Stream chat widgets we want to use; those will be the widgets in the ‘ChannelPage’ widget I created.
Navigator.*of*(context).push(MaterialPageRoute(
      builder: (_) => StreamChat(
            client: client,
            child: StreamChannel(
              channel: channel,
              child: ChannelPage(),
            ),
          )));
}
ChannelPage widget:
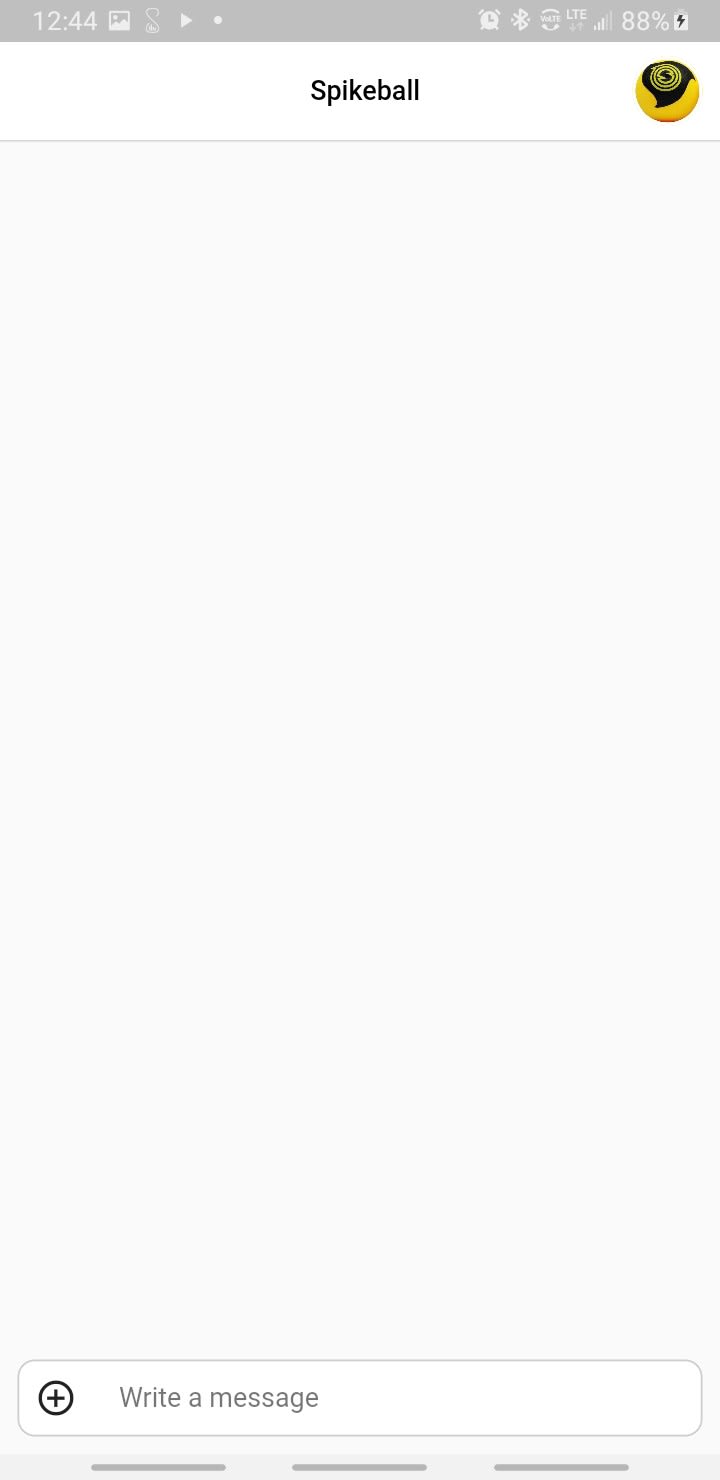
In the ChannelPage widget, I ‘ChannelHeader’ is a Stream widget for an AppBar, ‘MessageListView’ is where the messages are displayed, and ‘MessageInput’ is the text input field where messages are typed.
Here is what it looks like:
Implementing Shared Preferences
If you are curious about how I implemented shared preferences, I followed this article to make shared preferences easily accessible from anywhere in the app. I just created an ‘init’ method that I call in main.dart to initialize shared preferences and created getters and setters for the username and validation. I can access _sharedPreferences anywhere in my code.
Here’s the code for my shared preferences:
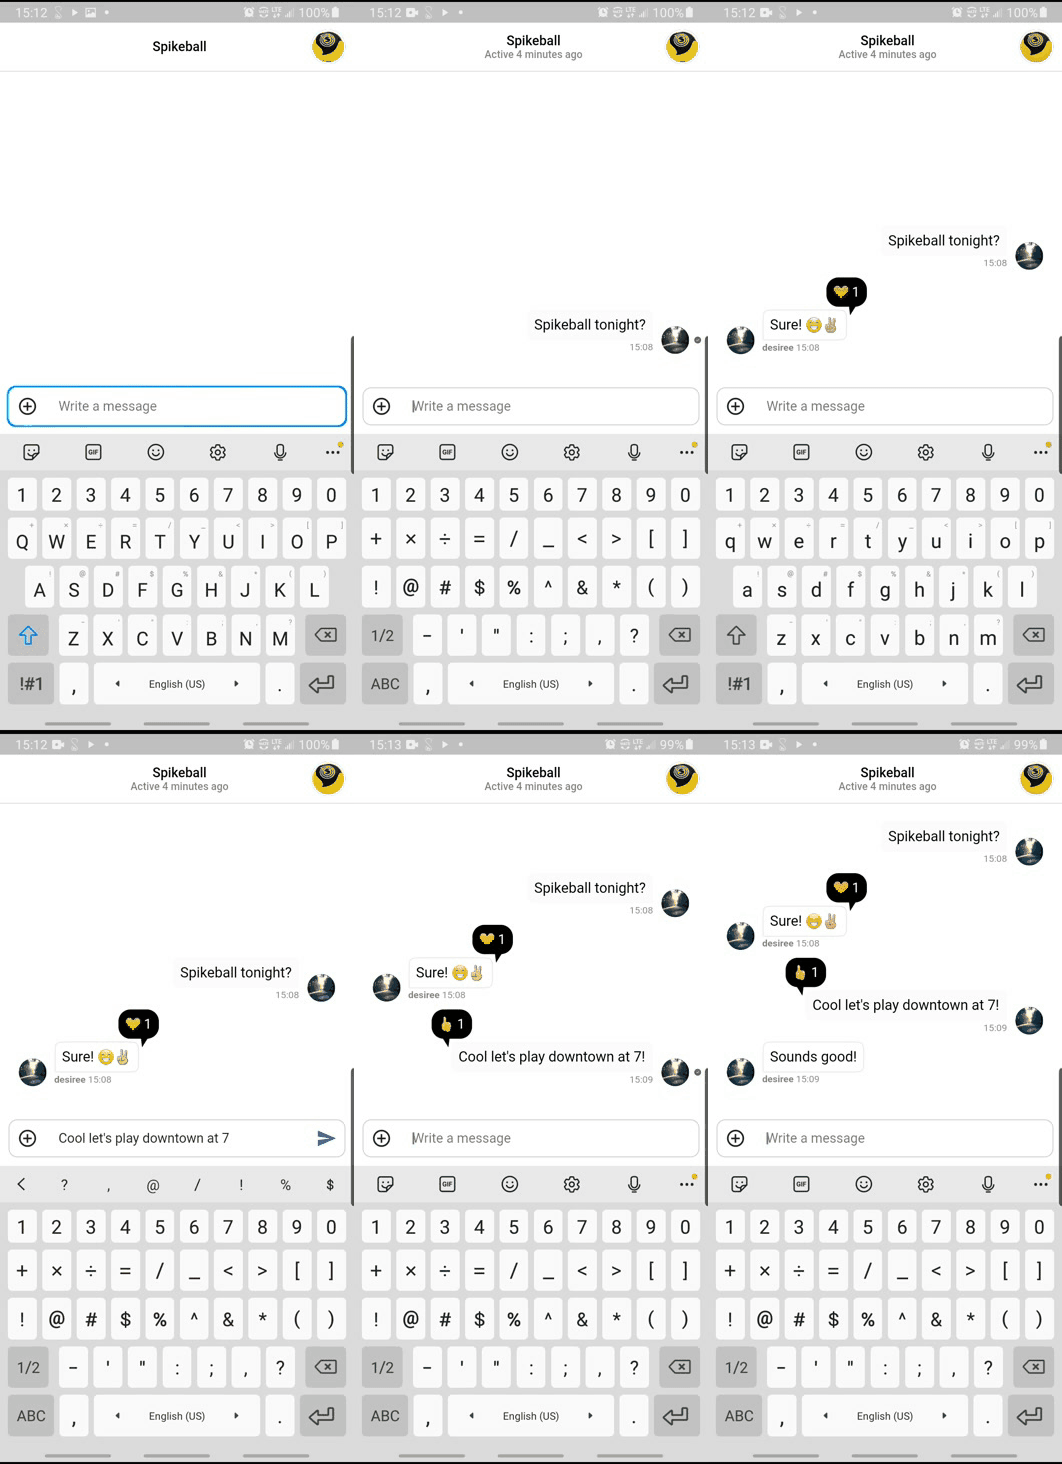
The Final Product:
Resources:
Troubleshooting
There are currently some bugs with building the Android APK, but if you run the app on an Android emulator or device, it should work just fine. I also needed to update Gradle to the latest version to get the Android app to work. If you have any other issues, please comment on this post- I’d be happy to help :)
Hi, I’m Ash 👋🏼 Let’s connect!
🌐 ashtonjones.dev|👥 @tjgrapes |✉️ ashtonjonesdev@gmail.com
👨💻 Google Certified Android Engineer |
✍ Writer |
🧘♂️ Stoic && Meditator
📱 Need an app built? Contact me here.


Top comments (0)