This article is part of a series on building a fully functional Flutter app with Stream. All other parts, as well as the finished code, can be found below.
Introduction
I discovered Stream’s chat API and challenged myself to build a fully functional Flutter messaging app with it.
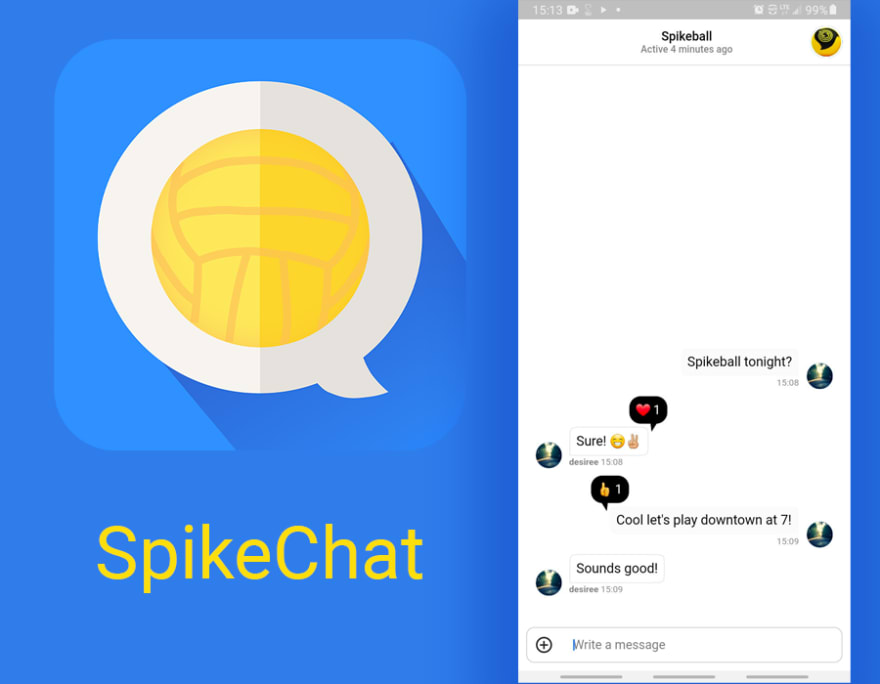
I decided to build SpikeChat, a group chat application for me and my friends to plan times to play Spikeball.
Experience
Stream made it effortless to build a messaging application with Flutter! They have their own Flutter widgets that you use to build the chat features. At first, I thought I would have to build my own database (i.e. Cloud Firestore) to keep the chat in sync on multiple devices. But Stream’s SDK already has local persistent storage AND cloud storage, which means you are not required to implement a database layer.
However, the Flutter documentation is a bit lacking, so I needed to do some work to figure out how to authorize a client with their API. In this series, I’ll explain everything you will need to know to build a fully functional Flutter chat app with Stream.
SpikeChat Overview
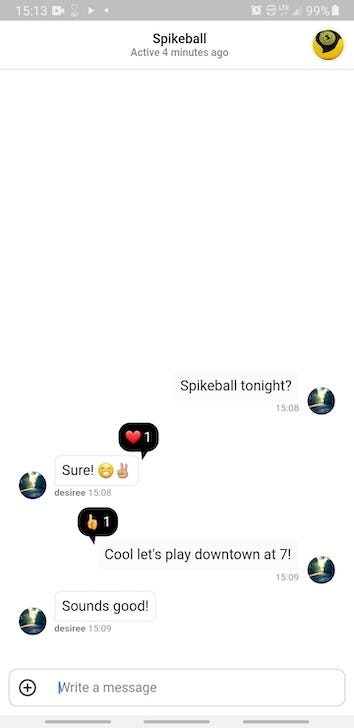
A fully functional chat application built with Flutter and Stream!
I wanted to keep the messaging app simple, so I build the application with one channel (chat room) called “Spikeball”
The chat contains the following features, which come by default with Stream’s SDK:
✅ Join the chat room
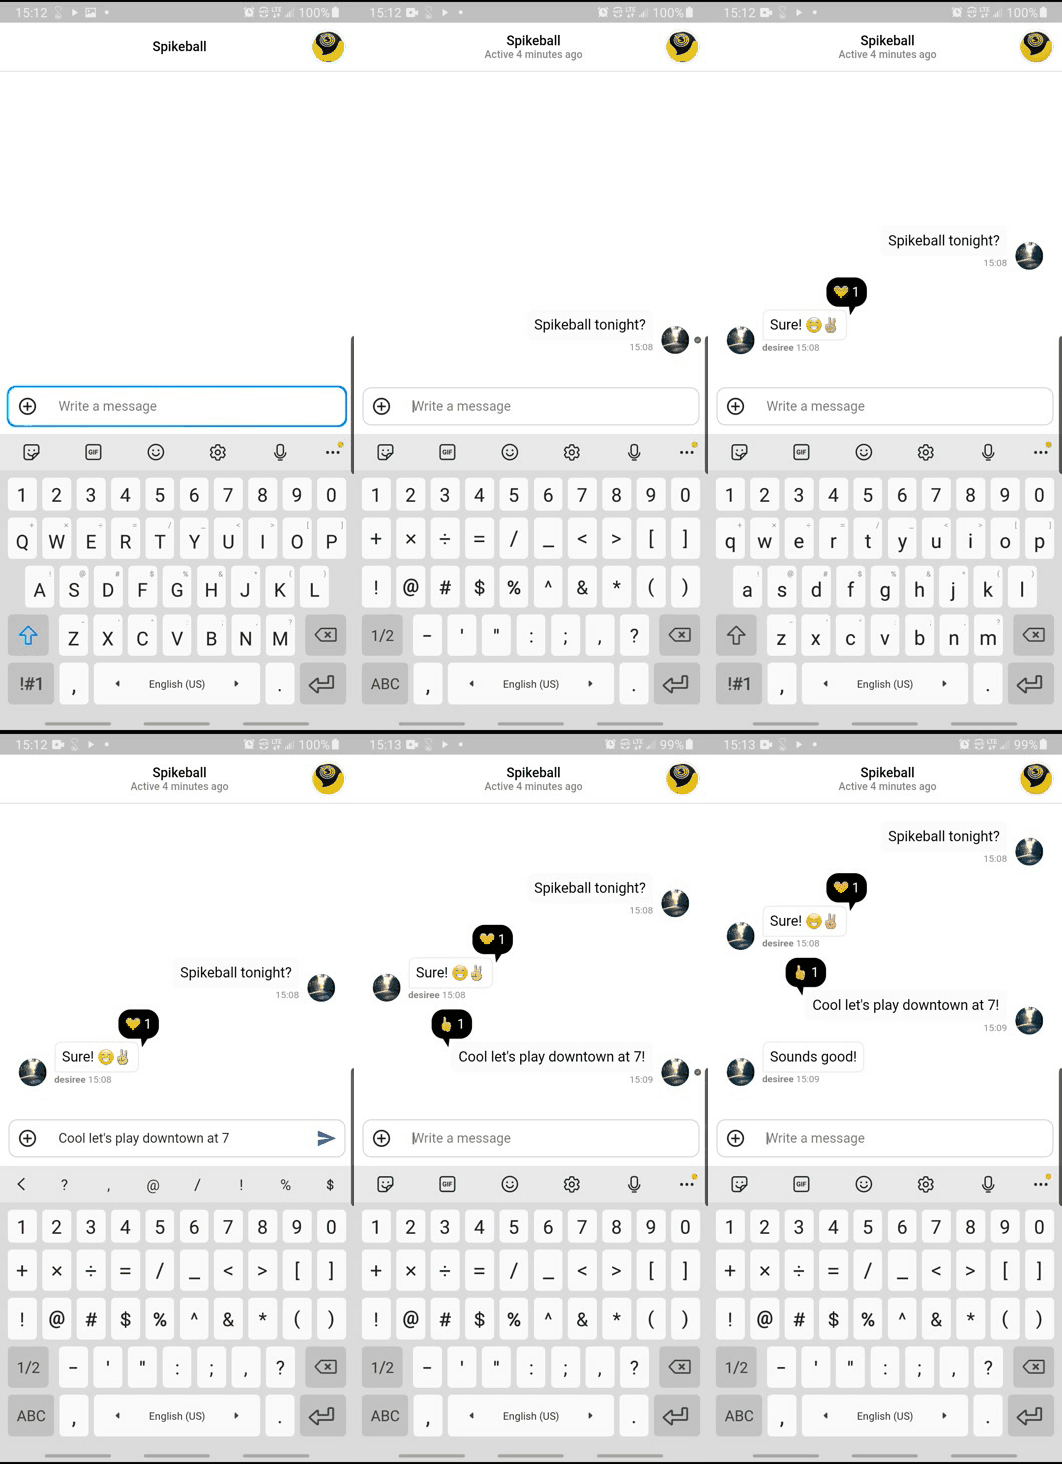
✅ Send text, images, audio, and video in the chat
✅ React to messages (i.e. heart react) and see the reaction count
✅ See when the chat was last active
However, there is quite a bit of configuration in order to get everything to work on both iOS and Android, which I will cover in part 2.
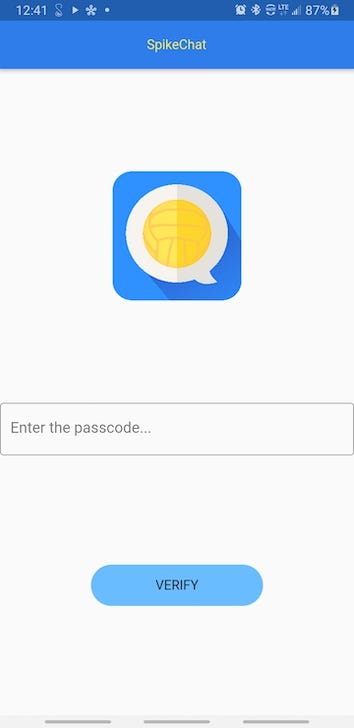
The app requires a passcode in order to enter the chat. I did this as simple a way to implement a private chat only my friends and I can join, without over-engineering the application. The user will not be able to get past this first screen if they do not have the passcode. For the intents of this application, it is sufficient.
After entering the correct passcode, my friend gets to choose a username. I use the username to authenticate him/her with the Stream client and create a user for the channel with that username.
After that’s done, they are logged into the application and brought to the Spikeball chat screen. The chat screen is built using Stream’s Flutter chat widgets. Here, my friends and I can send messages, photos, videos, and audio. We can see when the chat was last active, who sent messages, and react to messages, all in real time.
Up Next:
In part 2, I’ll explain how to configure the Stream client and other parts of the project.
If you want to follow along, here is the SpikeChat project:
(https://github.com/ashtonjonesdev/spike_chat)
Resources:
Hi, I’m Ash 👋🏼 Let’s connect!
🌐 ashtonjones.dev|👥 @tjgrapes |✉️ ashtonjonesdev@gmail.com
👨💻 Google Certified Android Engineer |
✍ Writer |
🧘♂️ Stoic && Meditator
📱 Need an app built? Contact me here.






Top comments (0)